Template Creator
The Template Creator is a tool for creating and managing templates directly within Smartsign.
When you use a template to create Smart Media, it is loaded live on the screen, enabling visual effects and live data-updates.
Create template
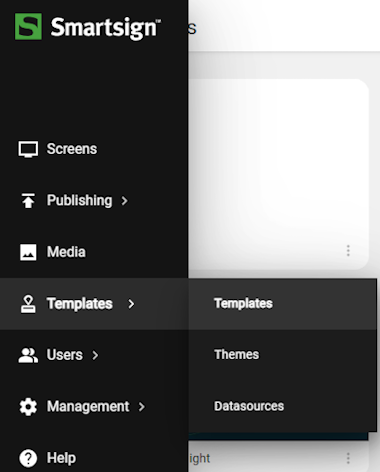
To create a new template, go to the templates menu and select templates.
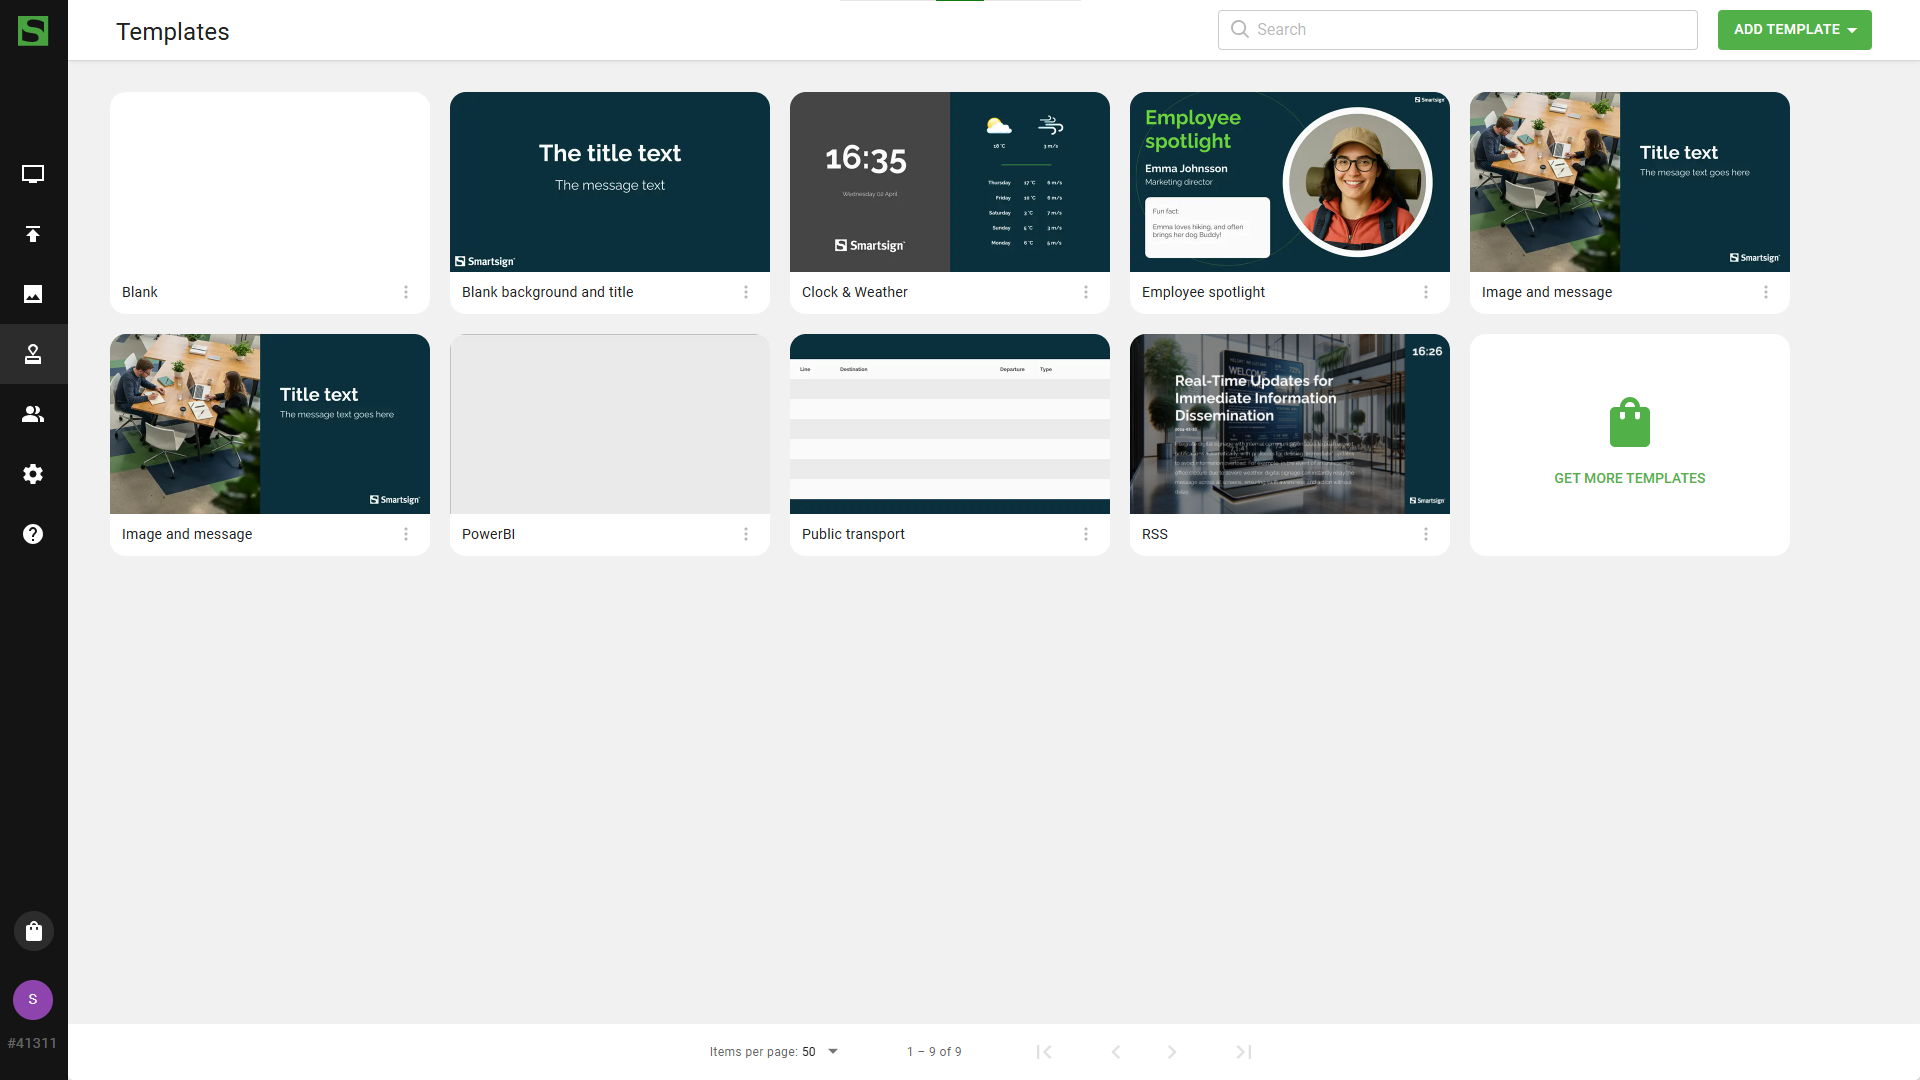
Here you can find pre-created templates that you can view and edit and
you can also download more templates from the marketplace.
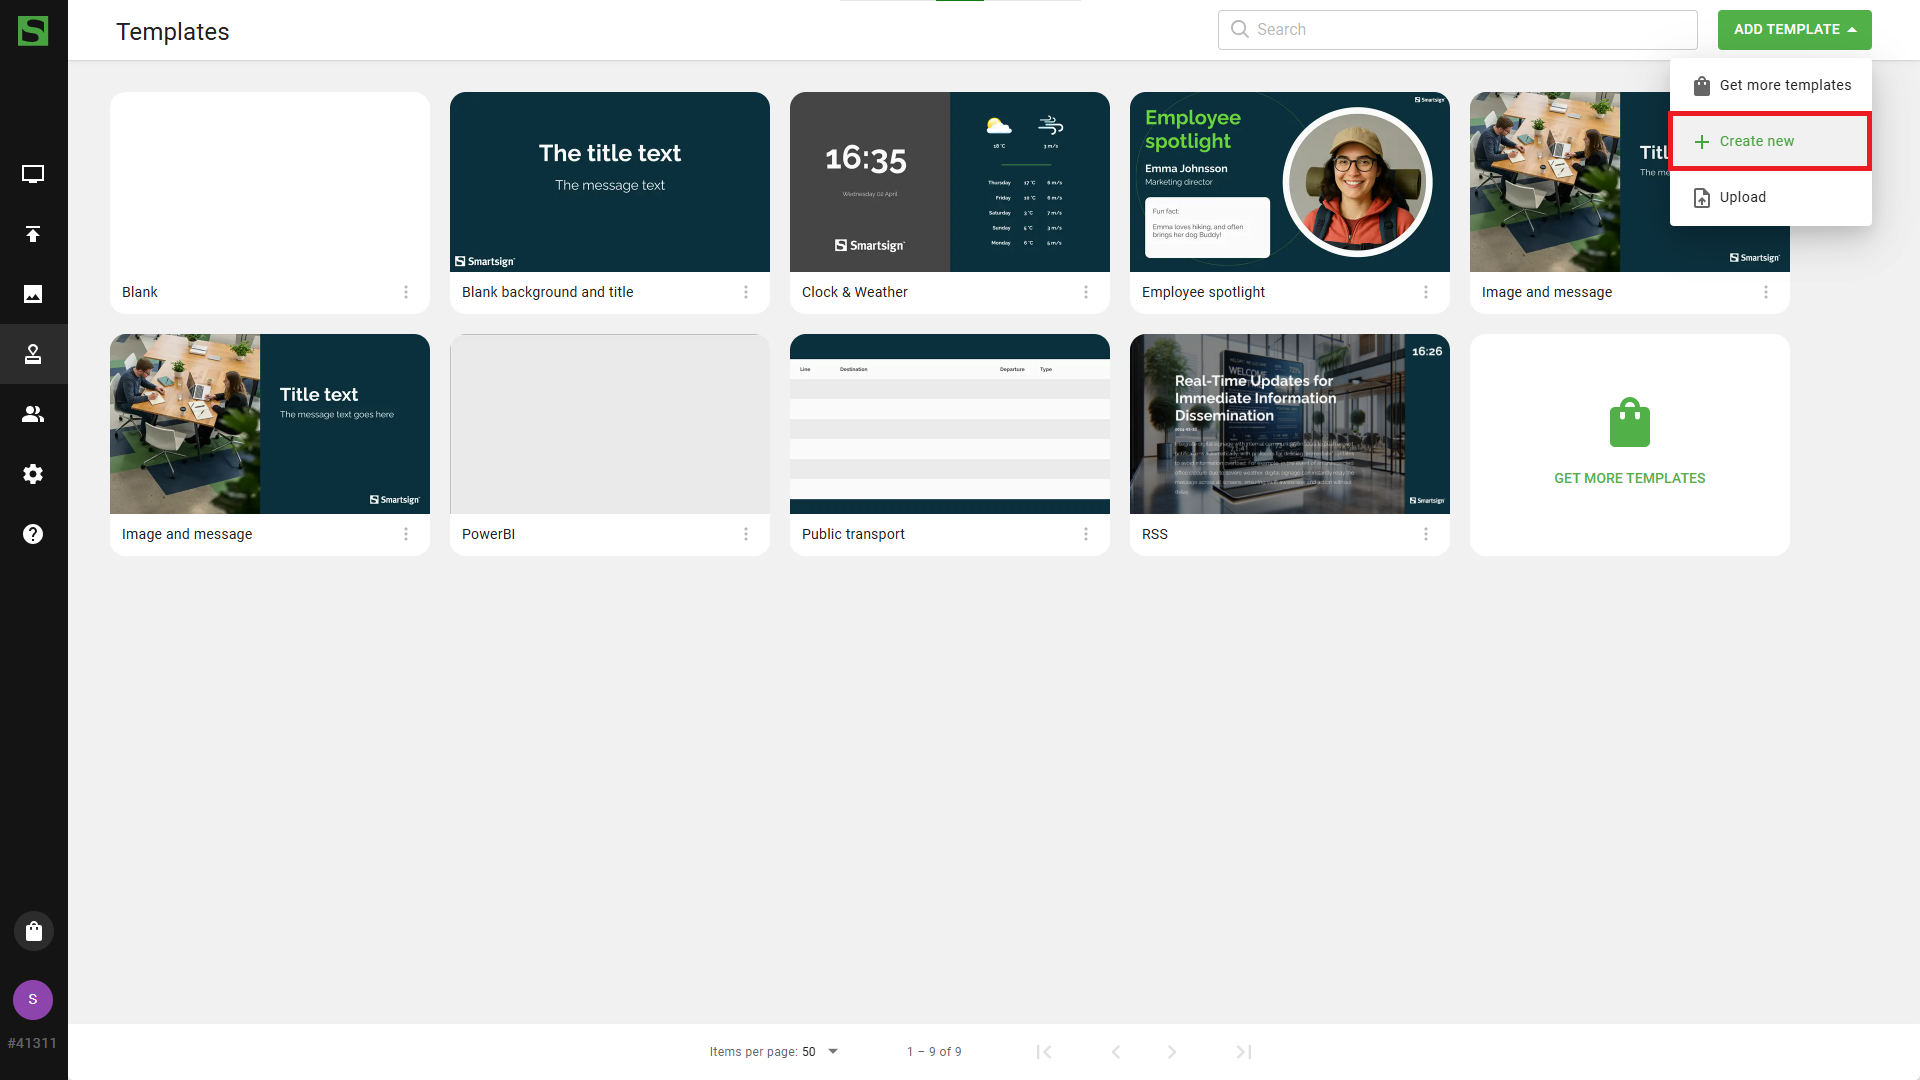
To create a template from scratch, click add template and create new
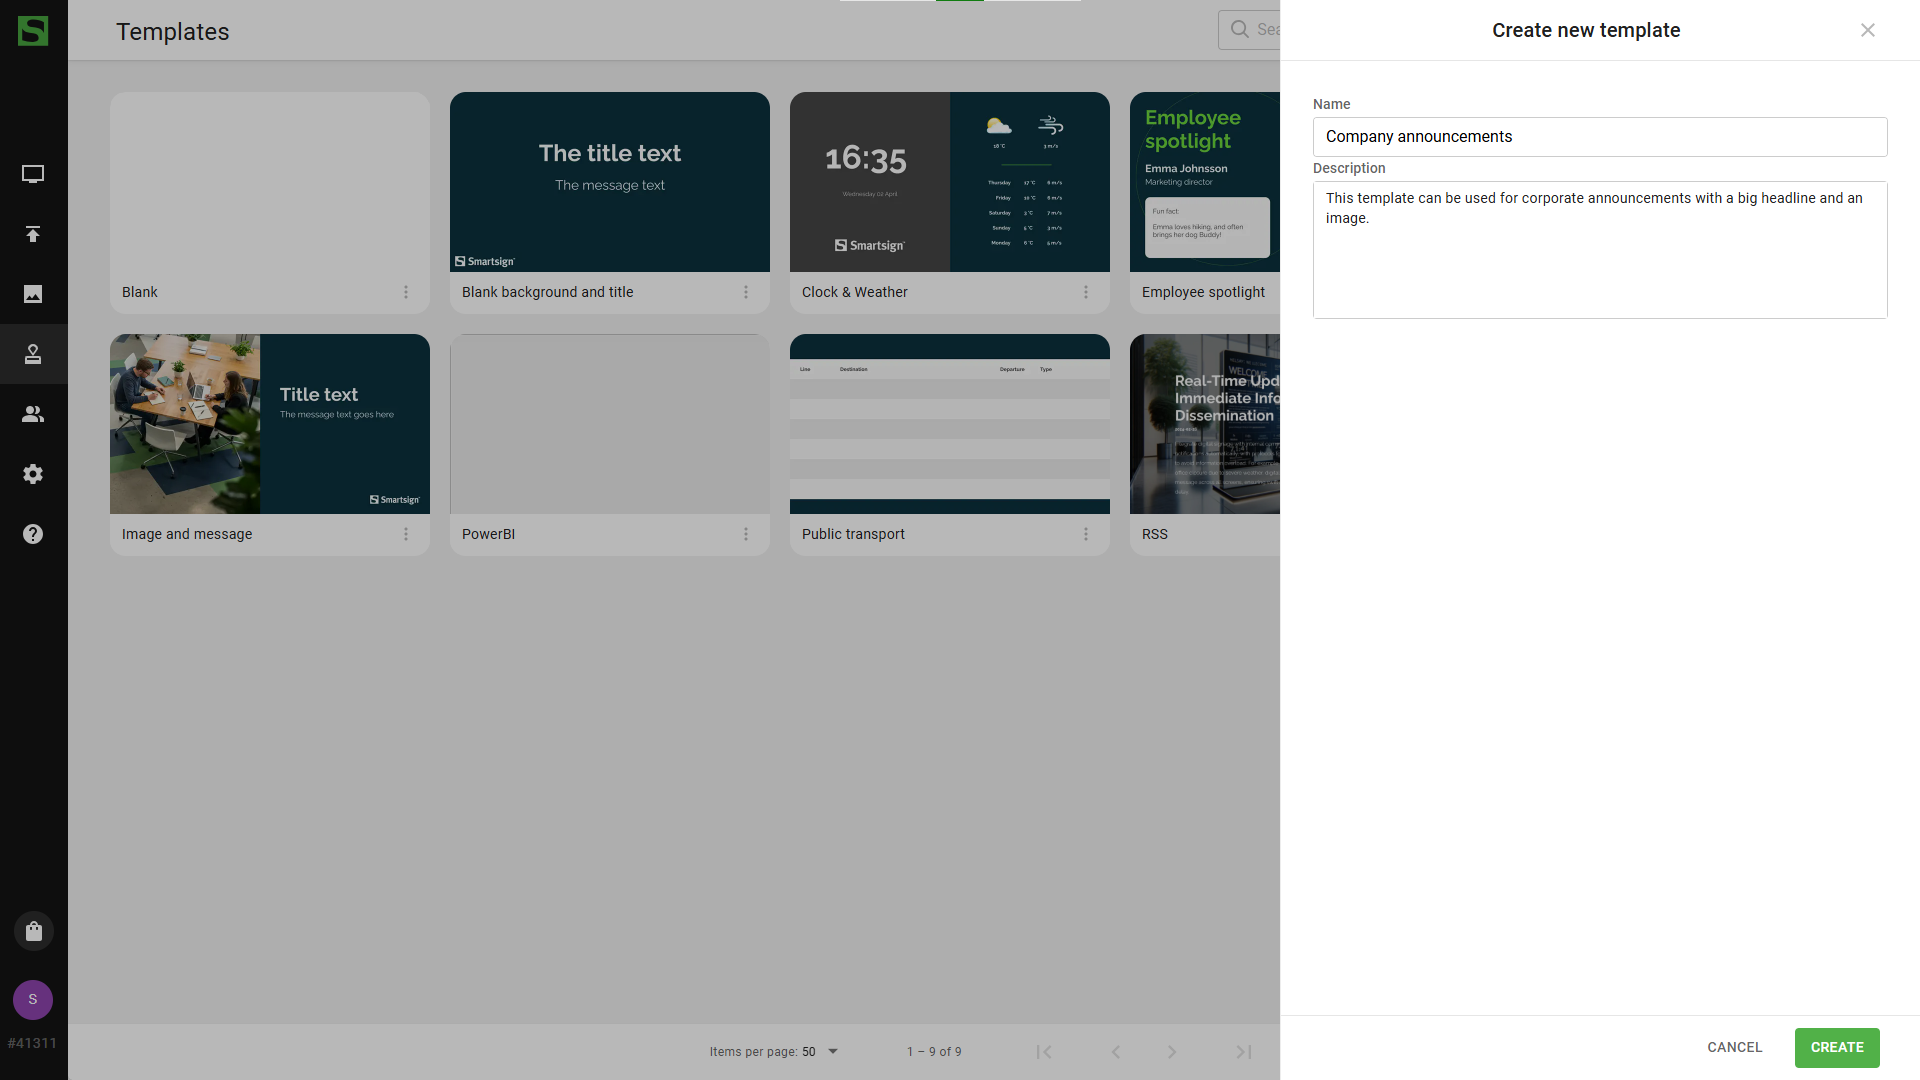
Give your template a name and description
An empty template will be created, this will usually take a few seconds.
Once it finishes loading you will be presented with the Template
Creator.
Settings
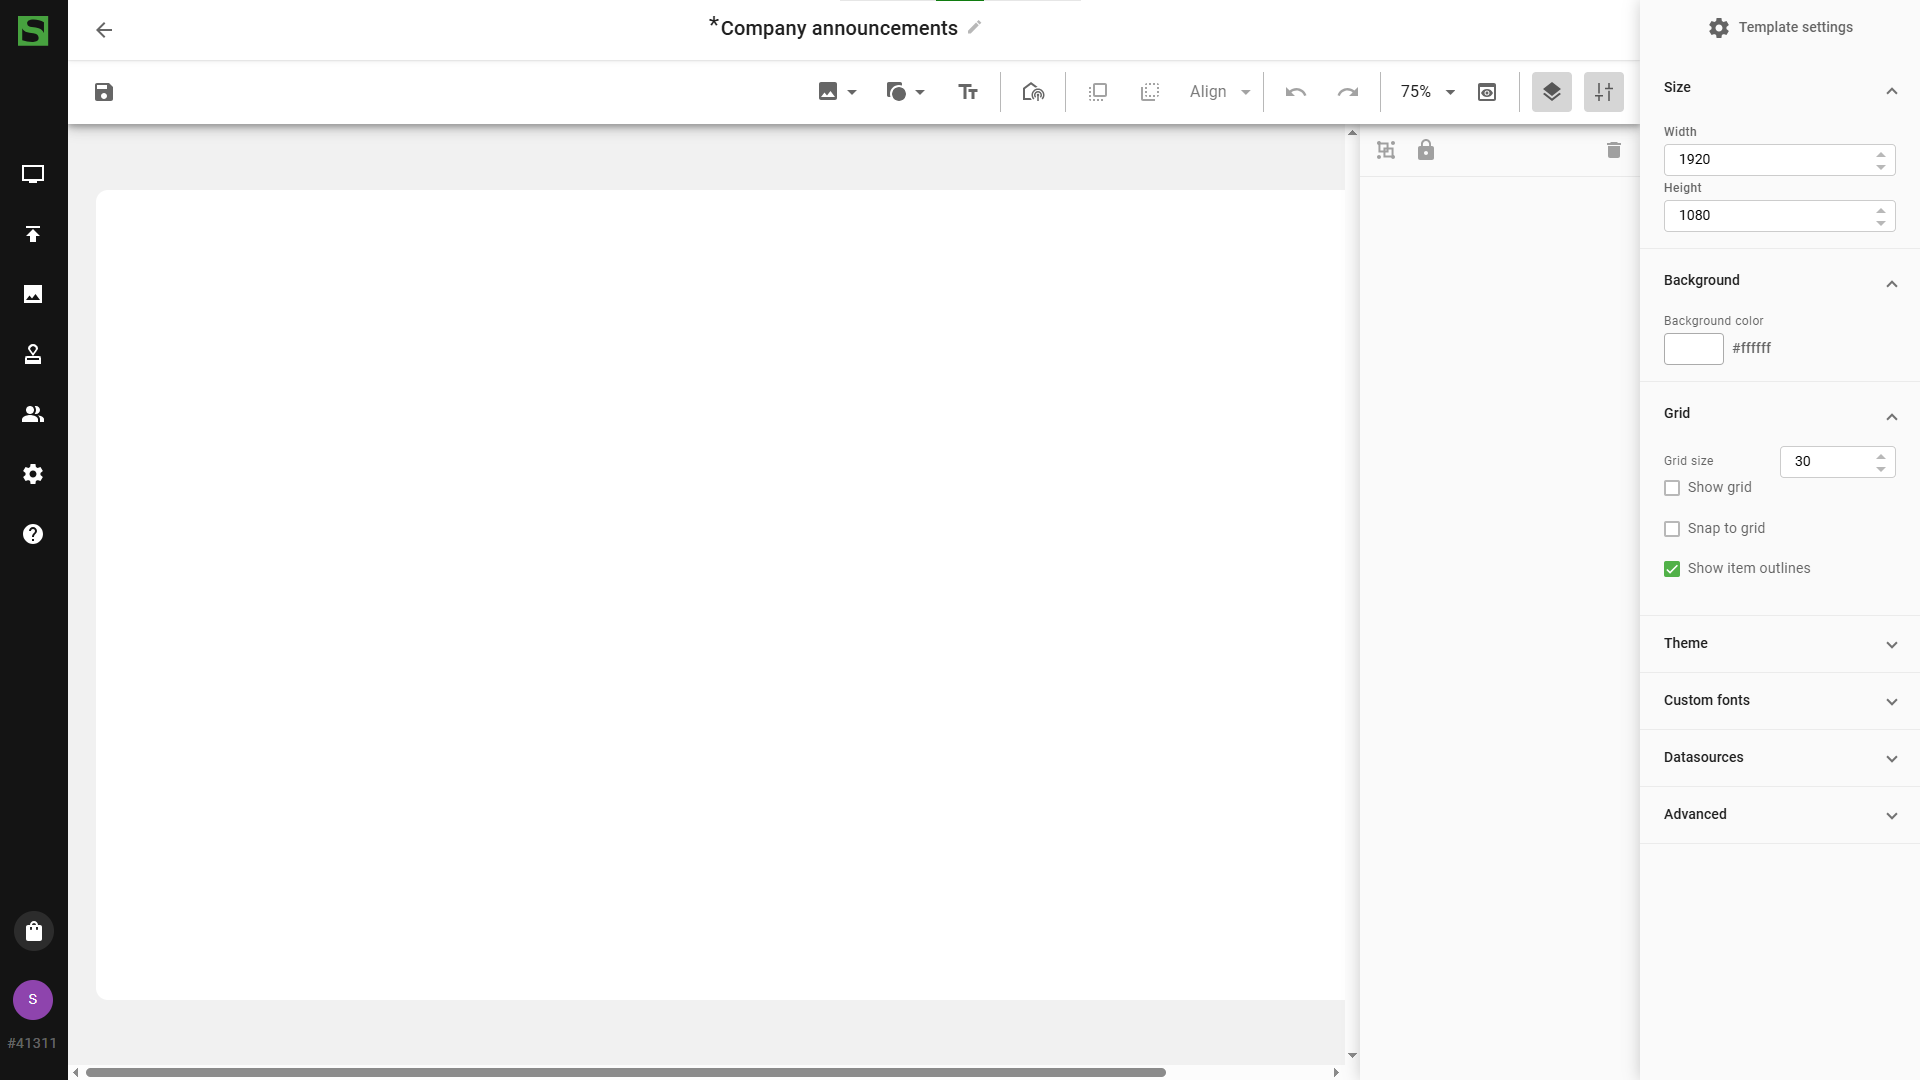
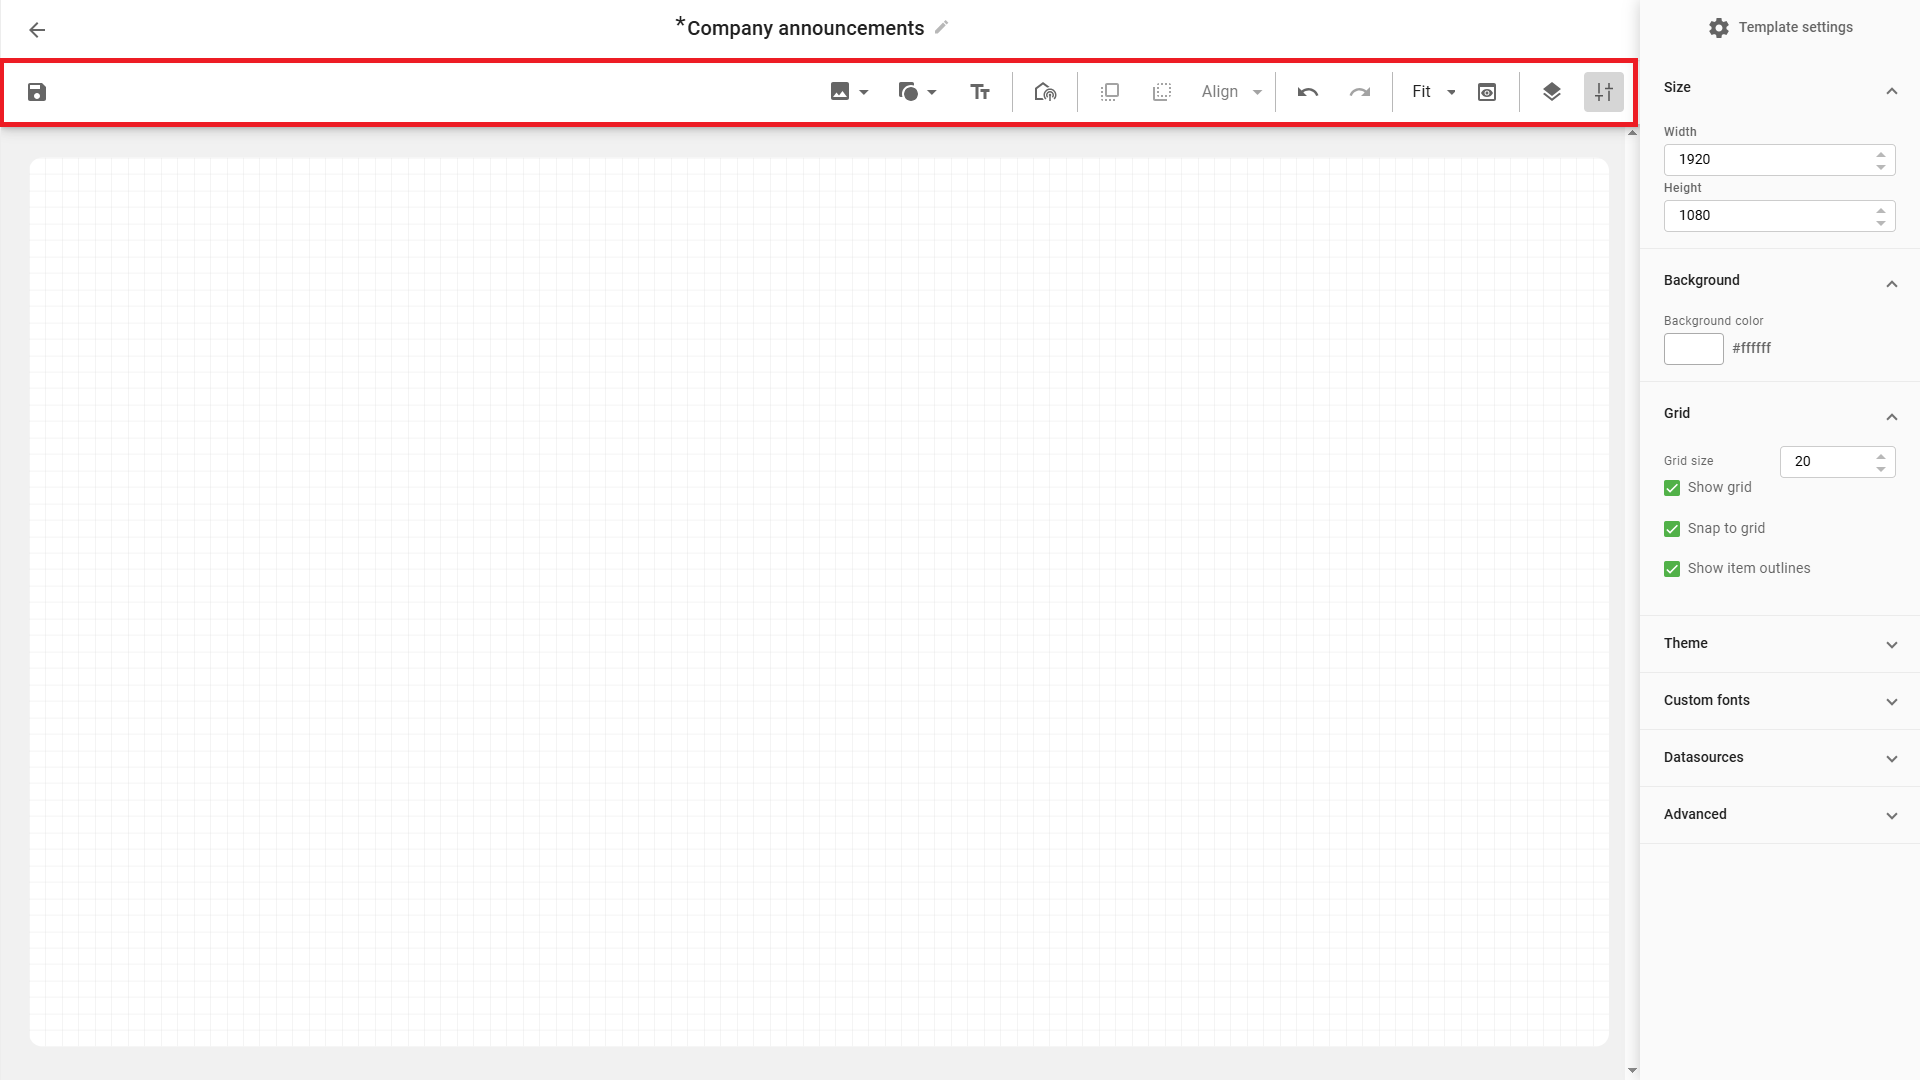
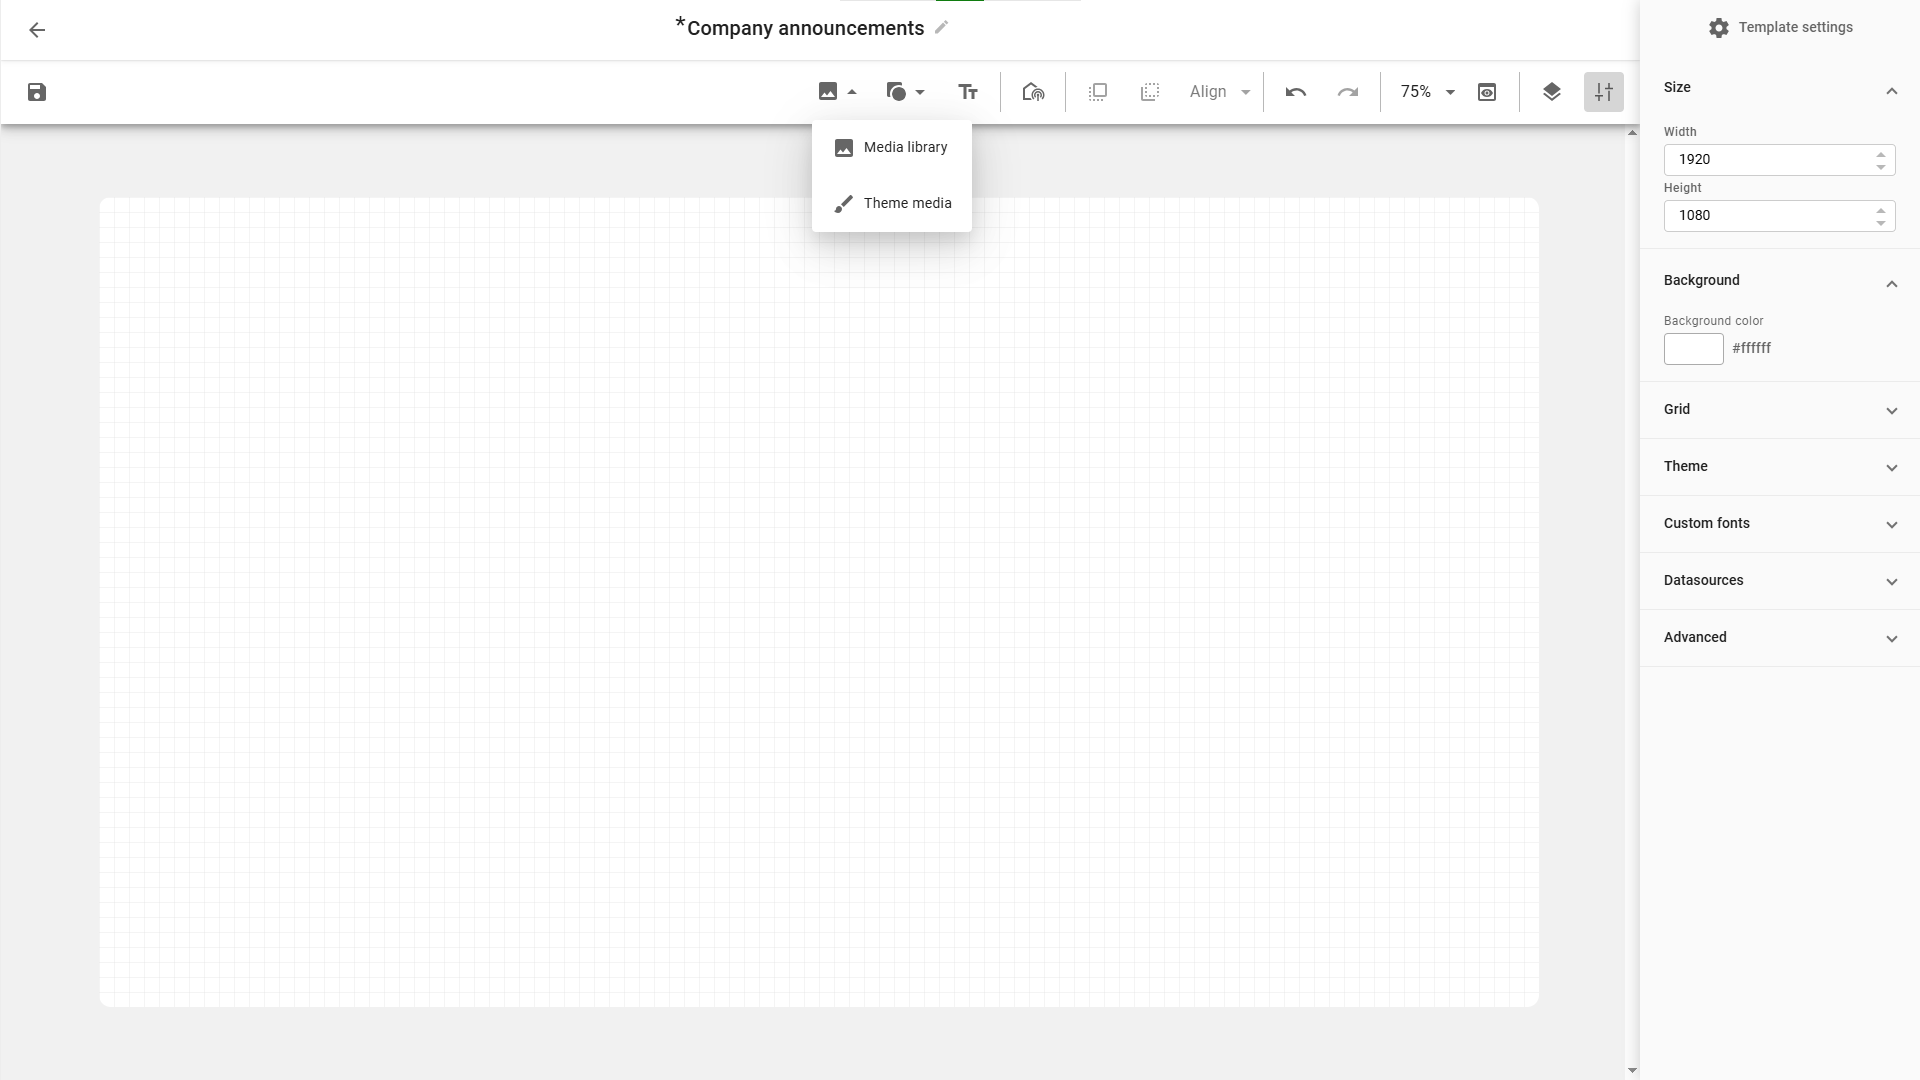
Template size
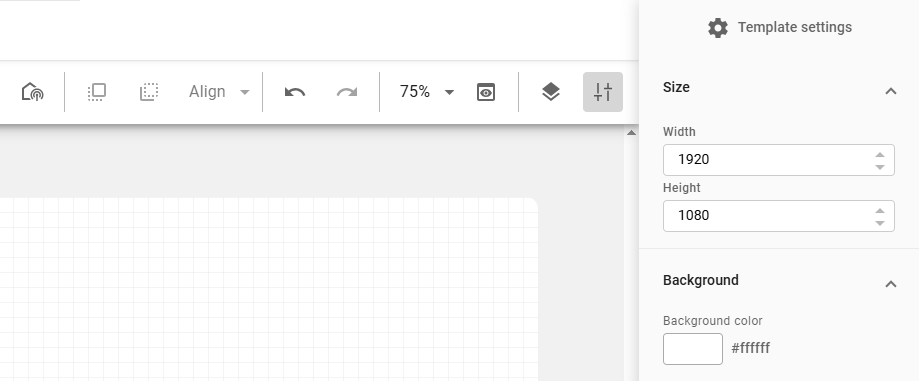
Before making any changes to the template, we recommend that you
first configure the desired size.
By default, the size is set to 1920x1080 pixels, which corresponds to full screen on a standard Full HD display.
If you are not using full screen, it is common practice to match the template size to the target channel. The dimensions are specified in pixels.
The template background is white by default, but you can change the color or remove it entirely to make the template transparent.
Grid
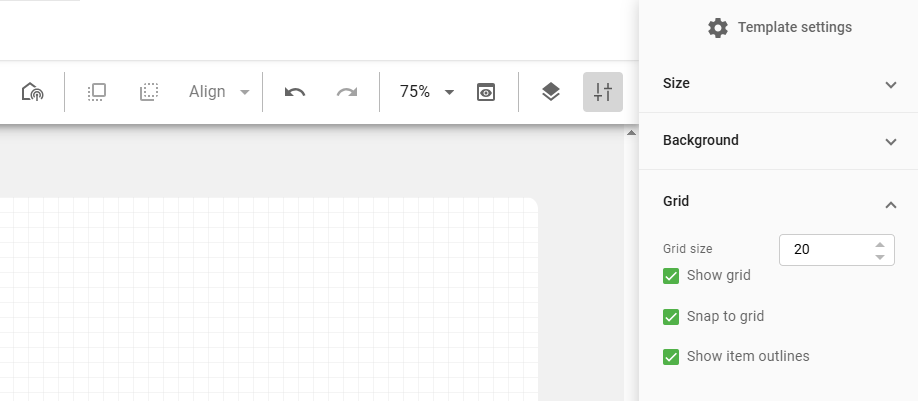
It's possible to show a grid and make objects snap to it. This can make
it easier to position and align objects, especially when dragging them
using the mouse. To enable, select show grid and snap to grid and
adjust grid size as needed.
Theme & Fonts
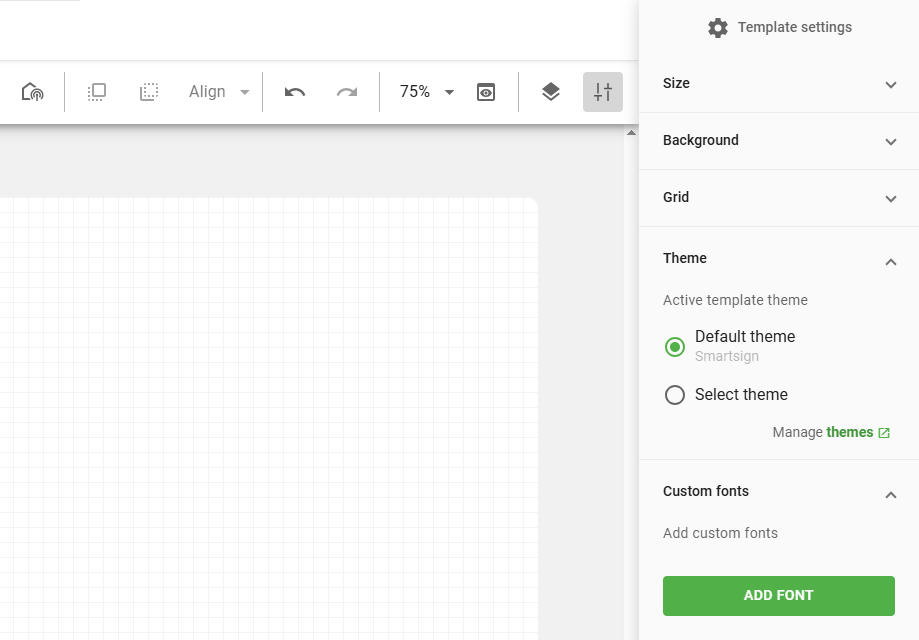
Select theme to use the pre-defined colors, fonts and logos from
the theme. You can also use custom colors and fonts in the template.
When using theme elements in the template, they are connected to that active theme. Changes in the theme will also affect all templates using that theme.
You can also upload additional fonts to the template if you want to use more than the ones in the theme.
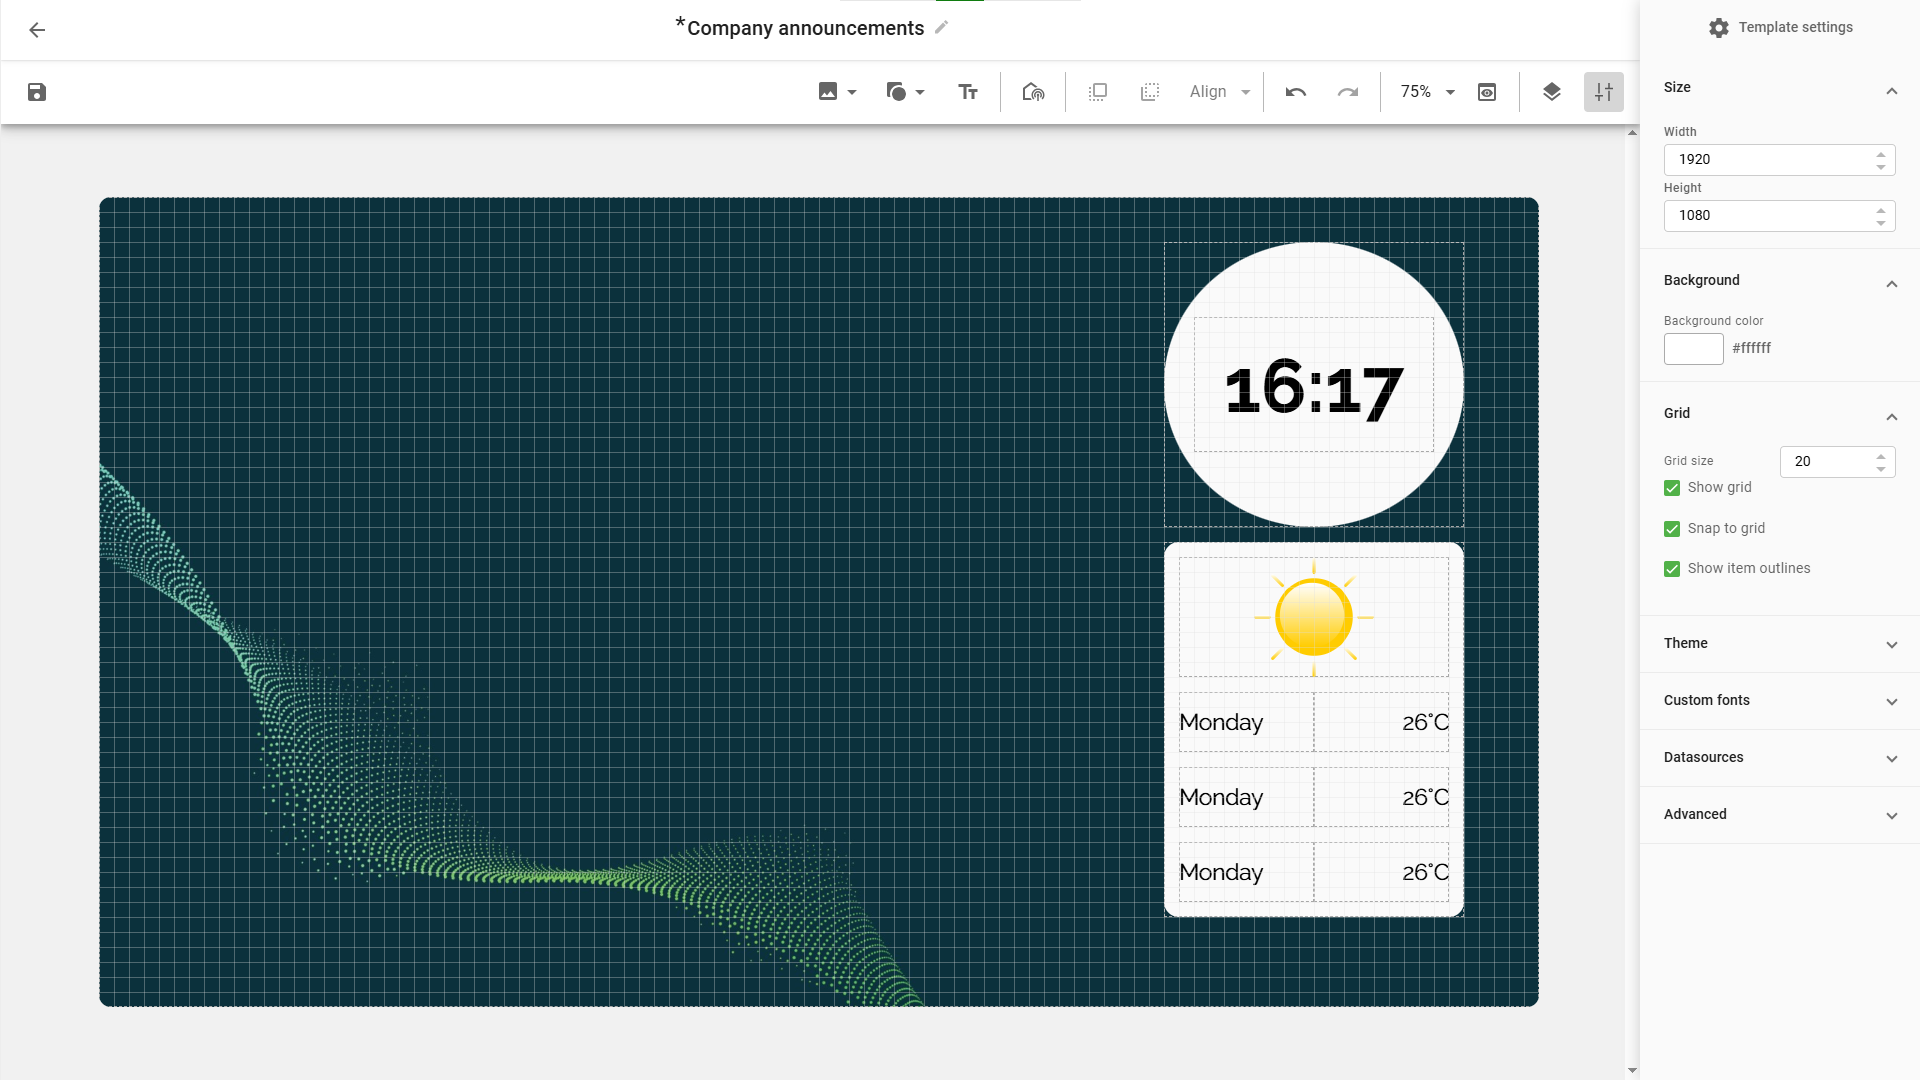
Datasources
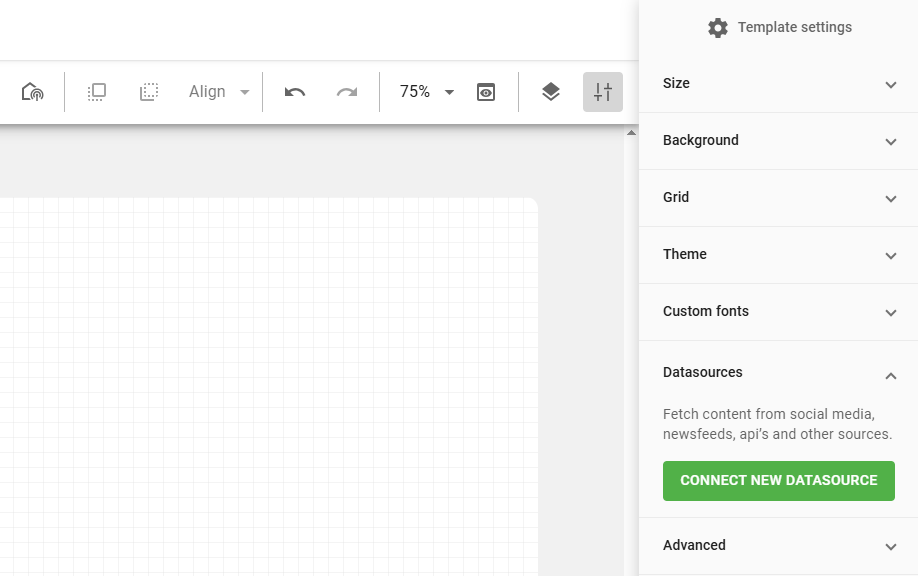
Use datasources to fetch information like weather, news or social media
and use it in the template. Multiple datasources can be added to the
template and show on specific areas.
Click connect new datasource to choose from available datasources. Once you have selected and configured a data source, you can bind data from it to different objects, such as text fields, in your template.
Available data sources
Please see section Template data sources
Available data sources are subject to change. Data sources may depend on 3rd party services or other factors outside of Smartsign's control. As such, Smartsign reserves the unilateral right to adjust or discontinue any data source as deemed appropriate. Some data sources may depend on Smartsign provided services that require a valid agreement or subscription. Smartsign reserves the right to enforce such requirements and block unauthorized use without prior notice.
Toolbar
Use the toolbar to add and align media items, shapes and text elements.
You can also add channels if you want to create a screen layout.
Preview
Use the preview button to see how the template looks in a separate tab. It can also be
used to check the connected datasources to make sure they have updated information.
Layers
Every item you add to the template creator will become a layer.
Enabling the layer view allows you to see all layers in the template.
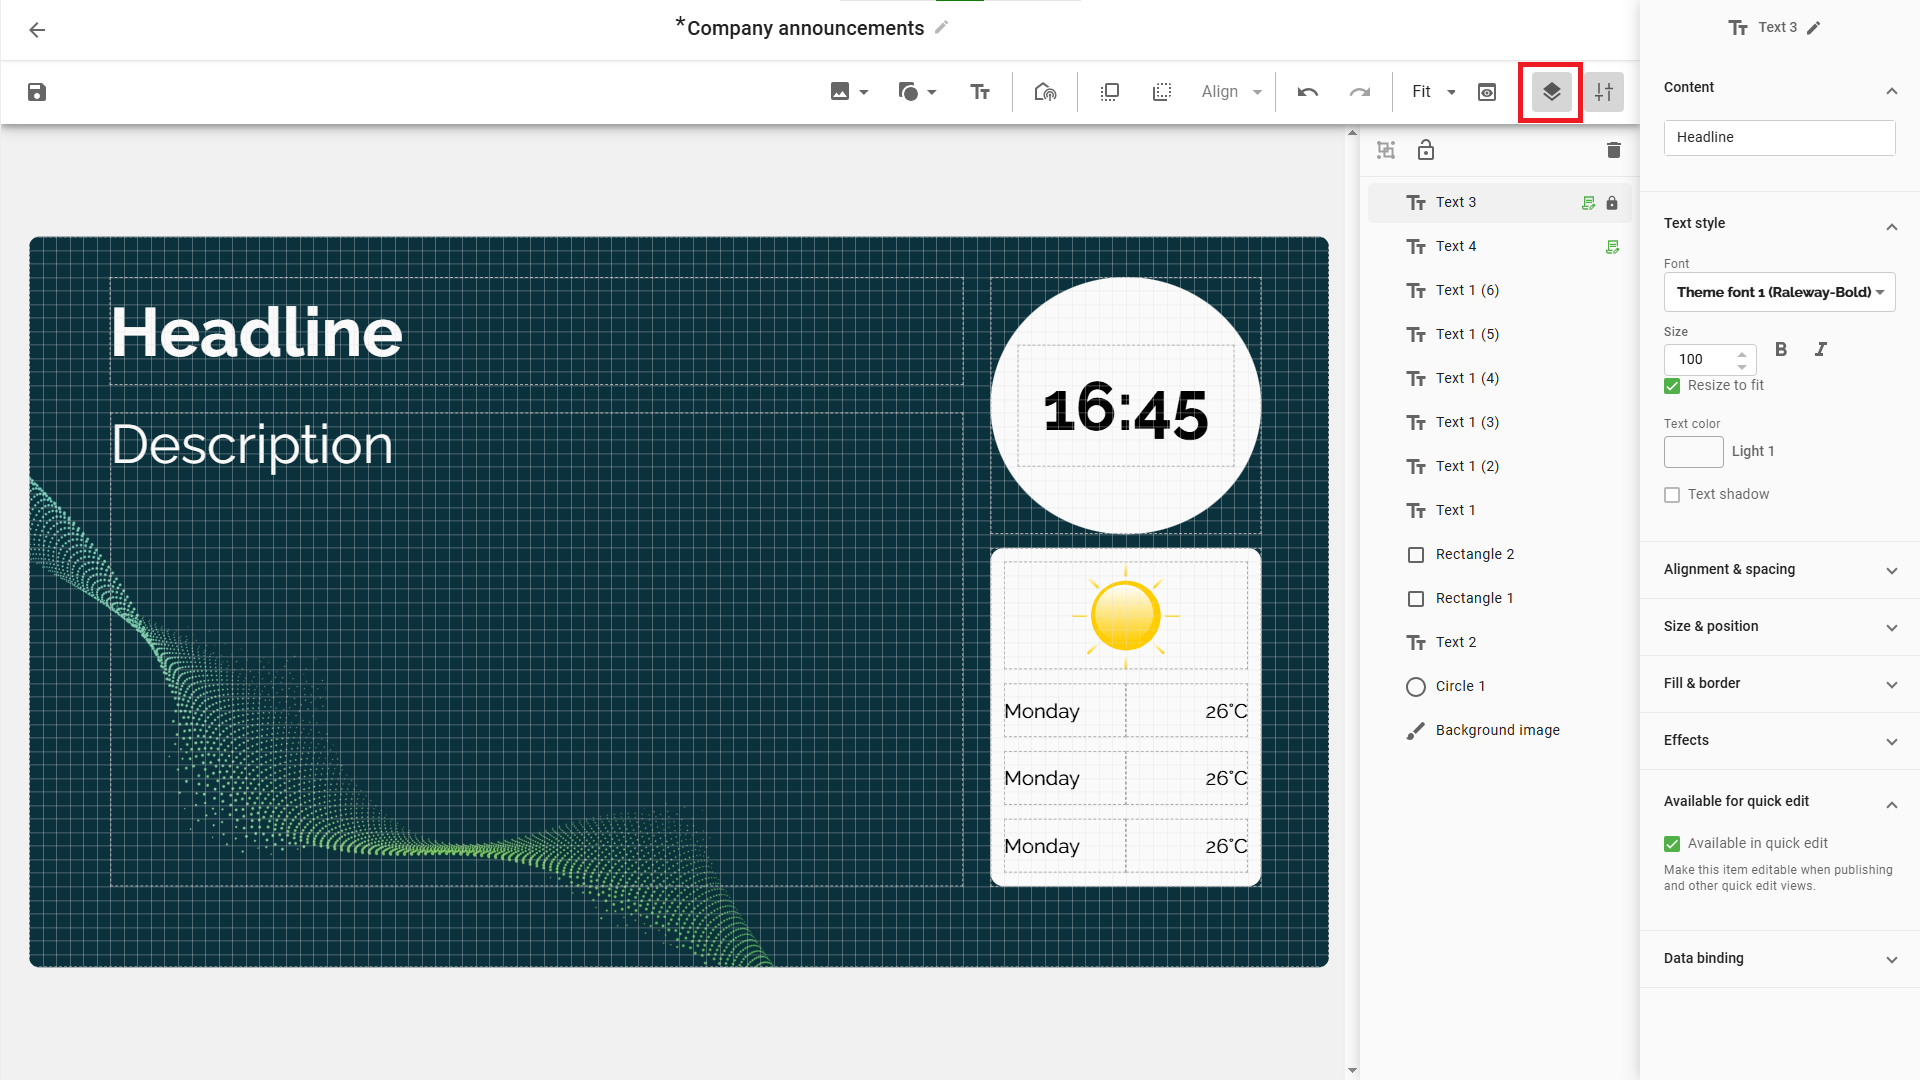
You can sort the order of the layers and group multiple layers together which is useful if you have a large template with multiple layers.
The order of the layers will control where they appear when using quick edit. A headline should for example be at the top of the layer list.
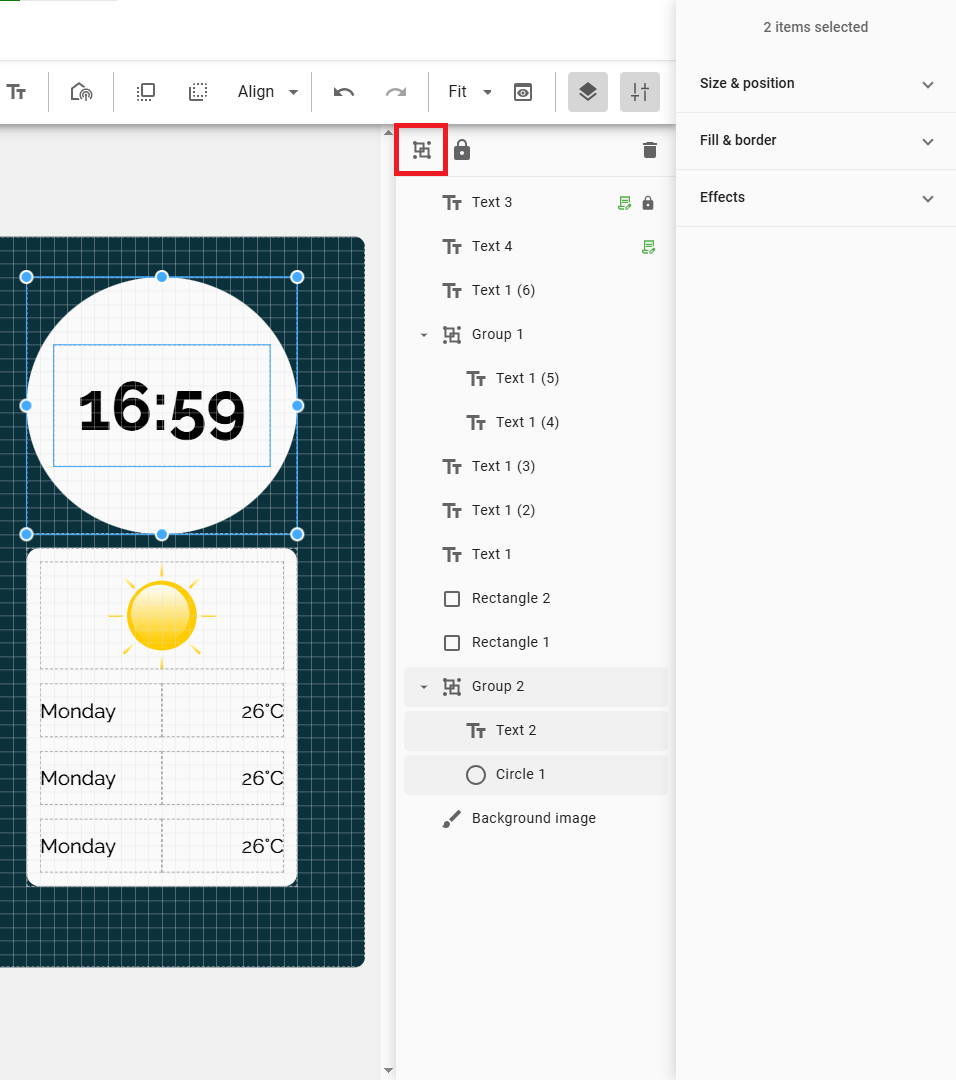
To group layers, control-click two or more and click the group button.
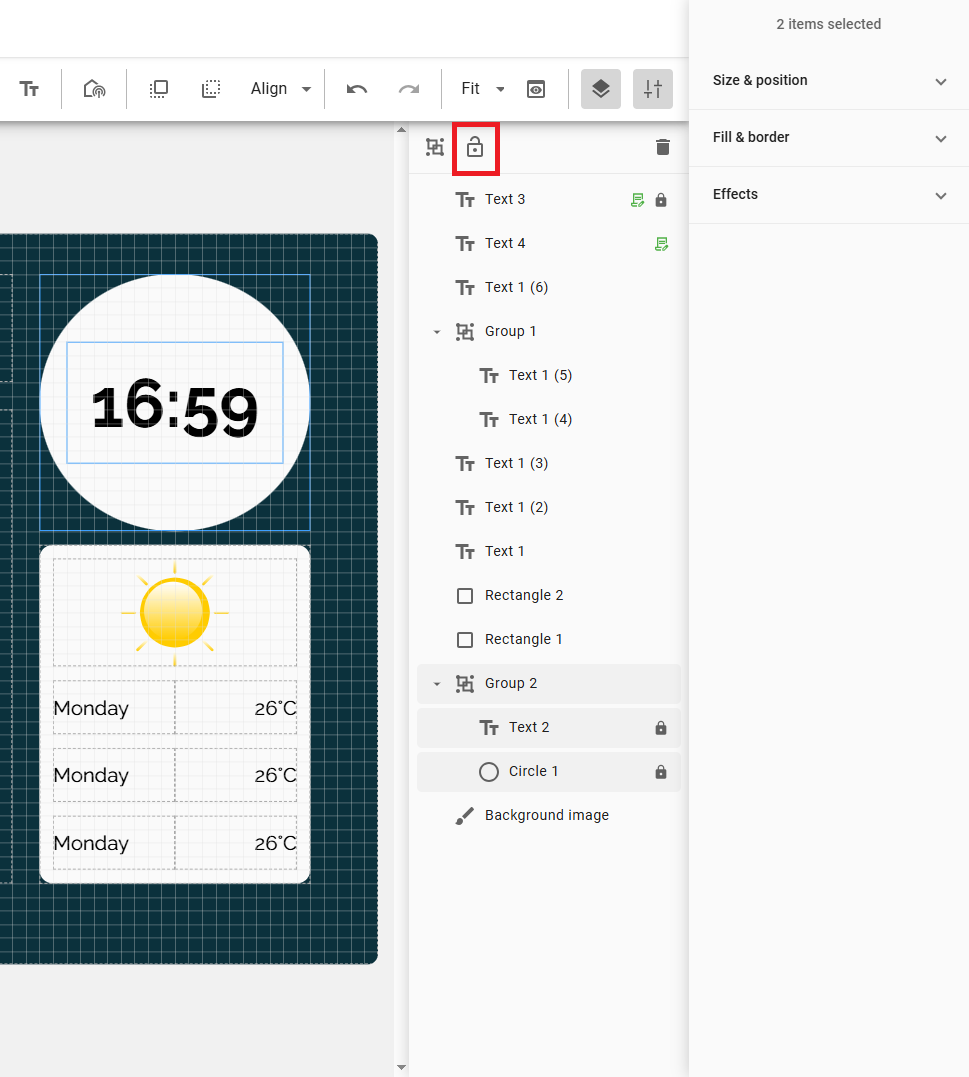
Layers can be locked to so they cannot be moved around when user crates
media items from the template.
To lock layers, click on them and select the padlock.
Multi-select
You can multi-select, multi-edit and use alignment tools to help you make the best templates possible.
Hold Ctrl and click each object, or click and drag to select multiple objects.
Multi-edit
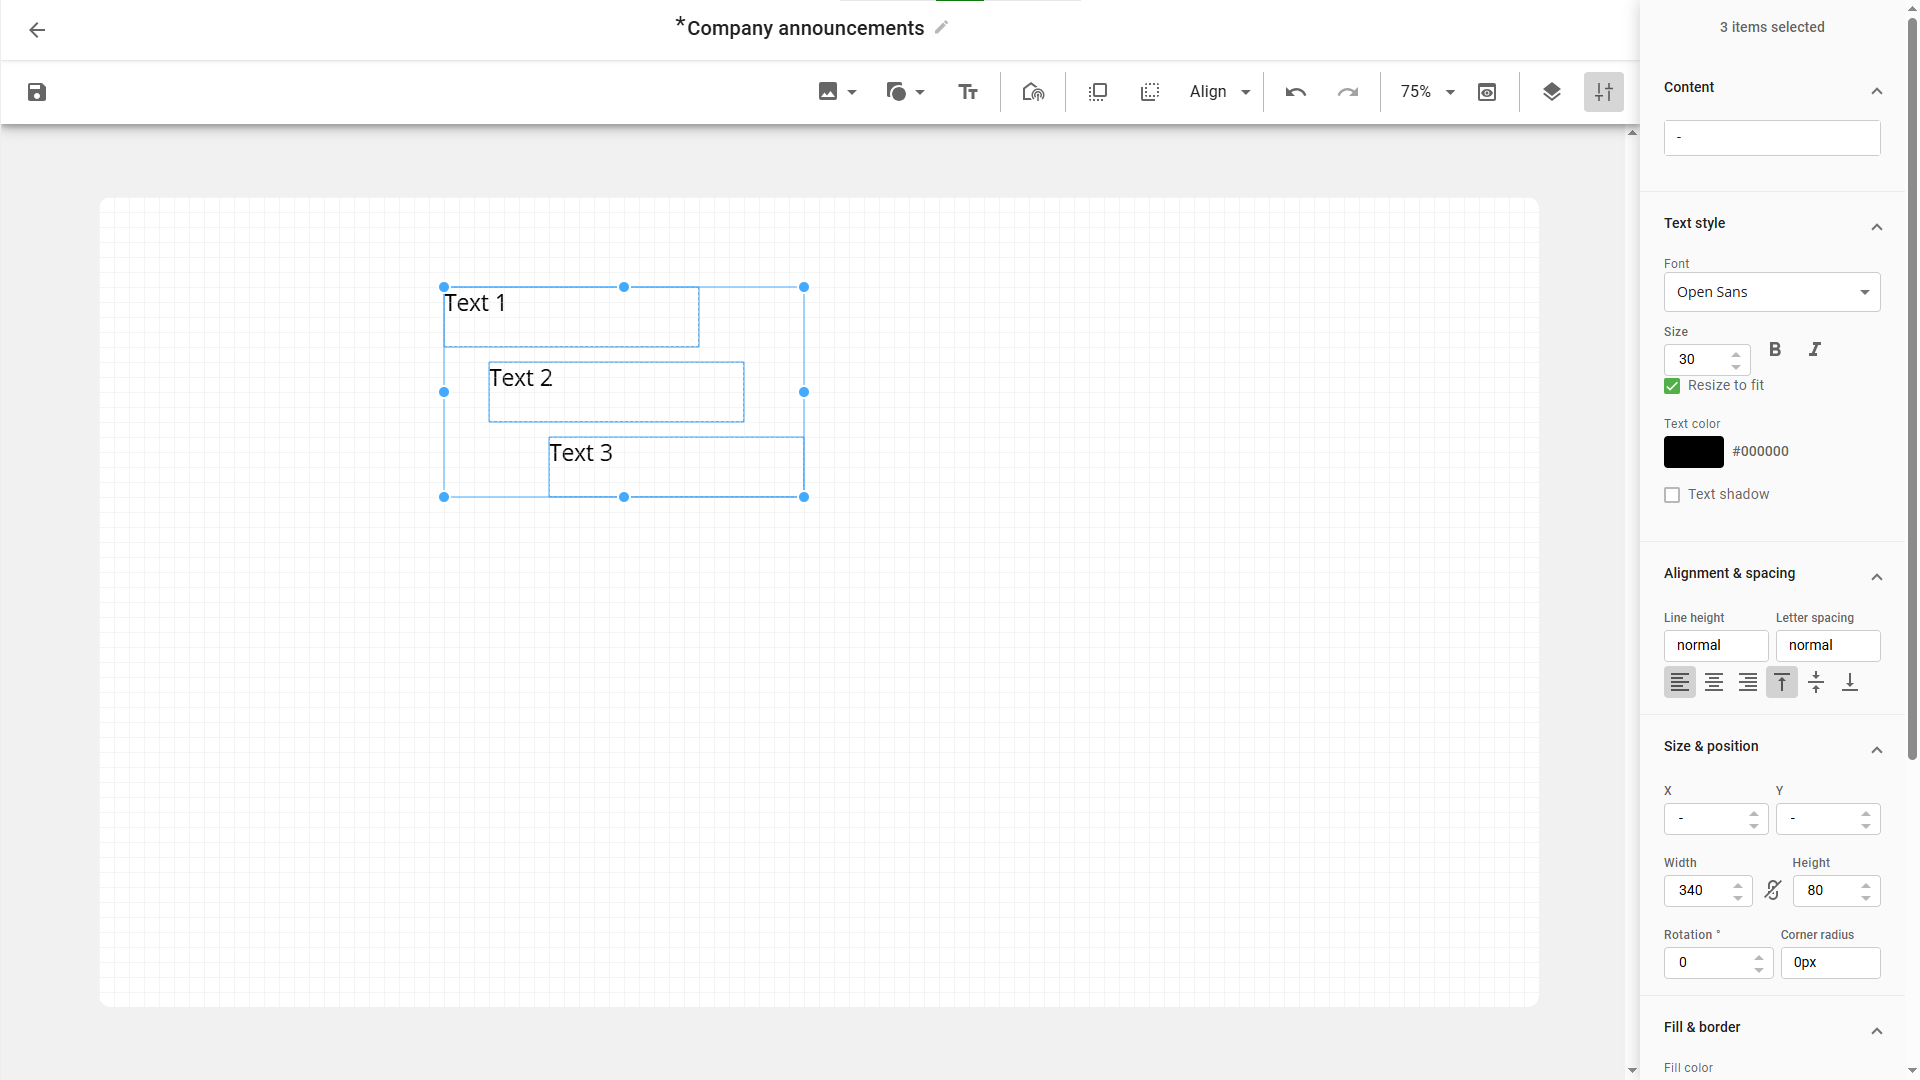
When you have selected multiple objects, you can perform changes to several of their common properties at the same time. Such as position, size and content. You can input values manually or move them all by dragging an also make small adjustments by using the arrow keys on your keyboard.
Size & Position
When you click on a item, you can adjust the position, size and rotation on the right menu.
You can now lock the aspect ratio of the items in the template,
making it easier to work with specific resolutions without
distorting the proportions.

Arrange
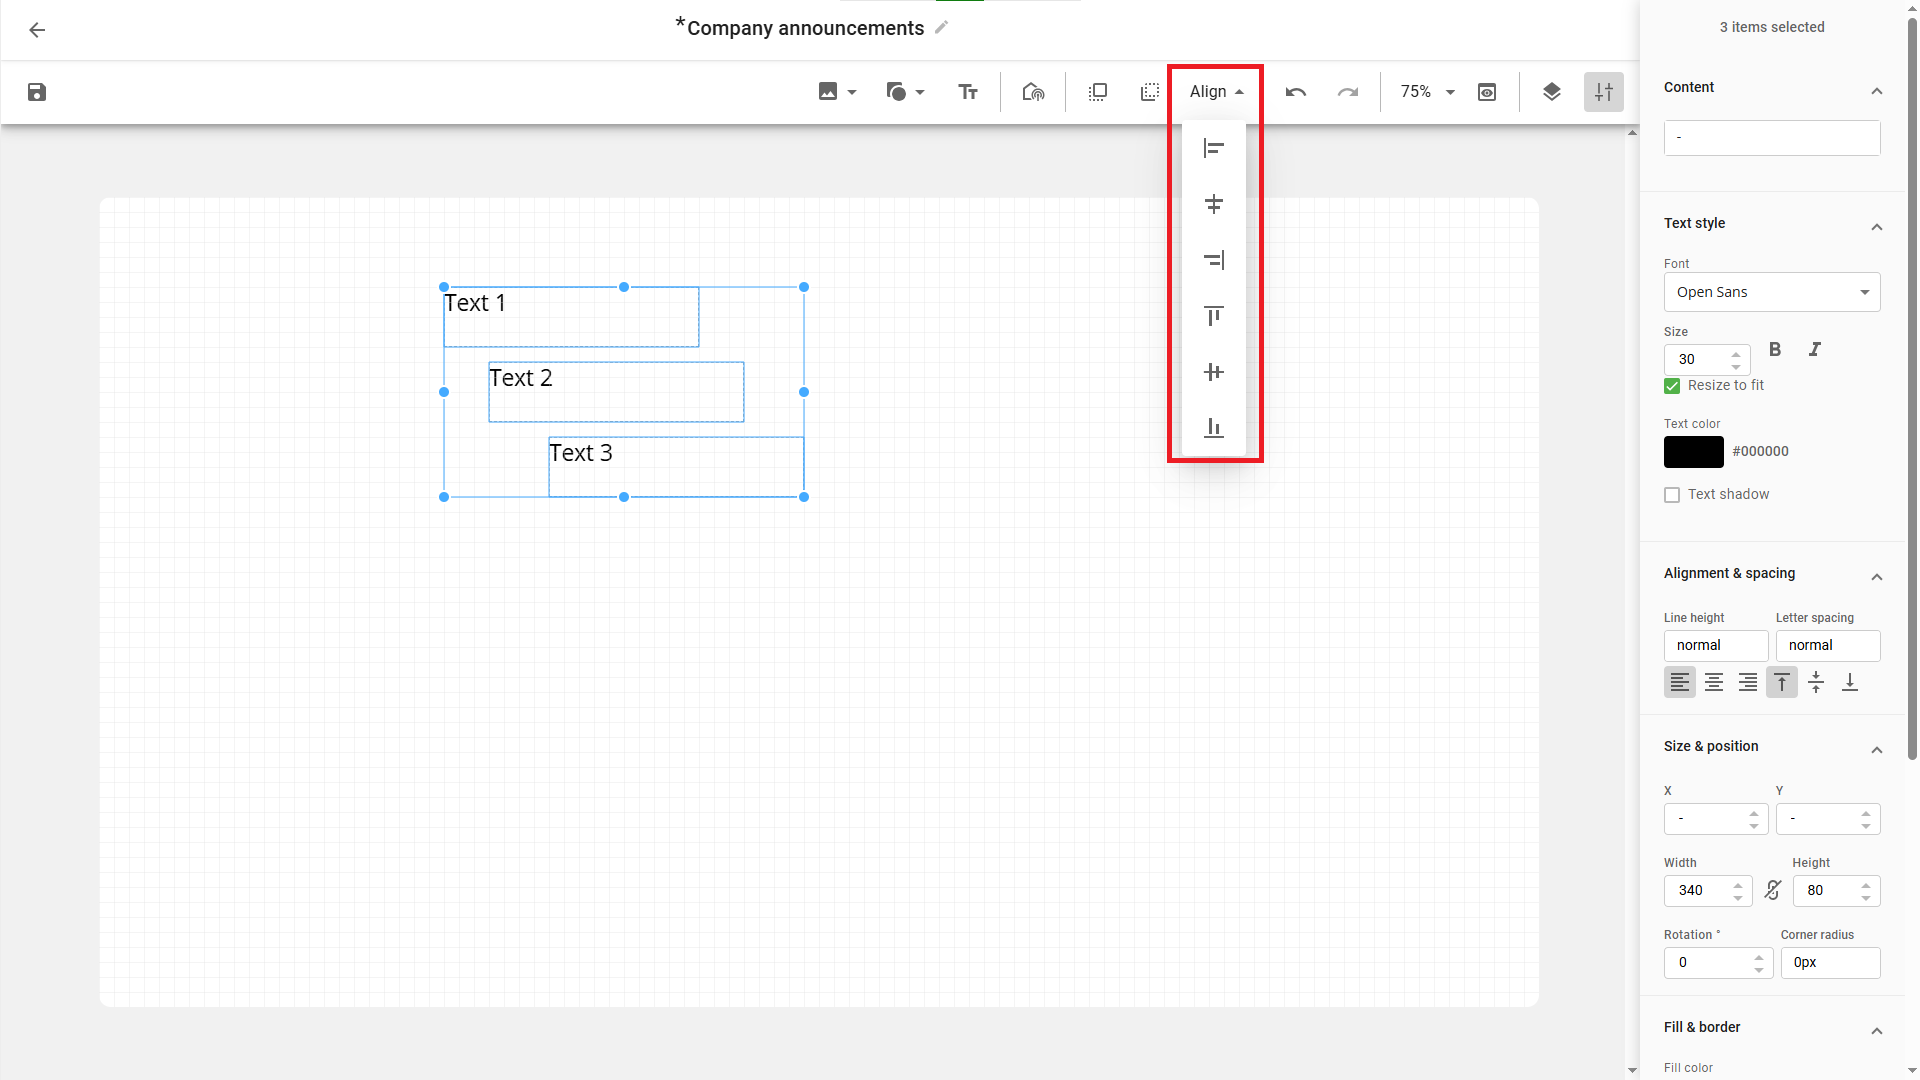
When you have selected multiple objects, the arrange menu will be
enabled. It allows you to arrange the different objects horizontally or
vertically. For example, select Align left to align the left edge of all
objects to the same position as the currently leftmost one.
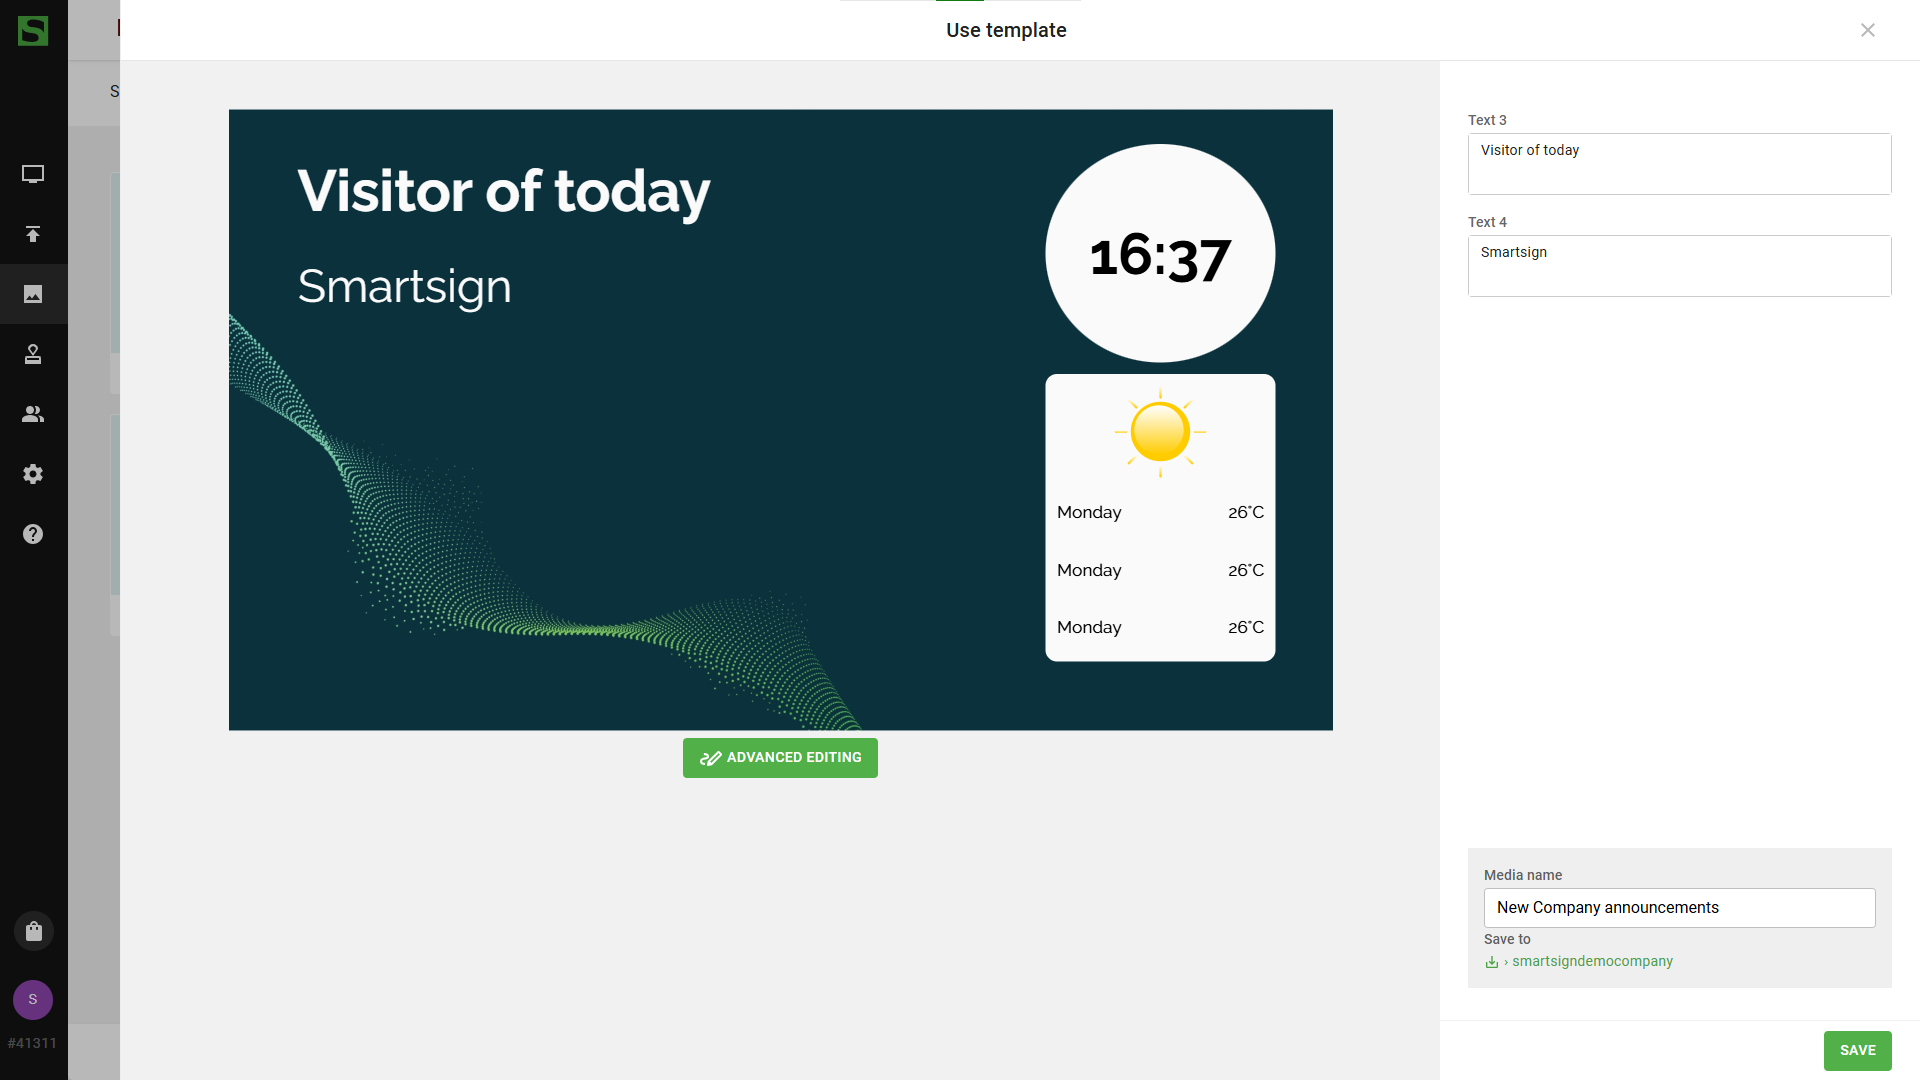
Quick edit
An important aspect with templates is the possibility to lock the feel and look of it. In Template Creator you can enable quick edit on items in the template where users are allowed change the information, but not select their own fonts, colors or change the layout of the template.
Click on a object and enable quick edit to use the feature.
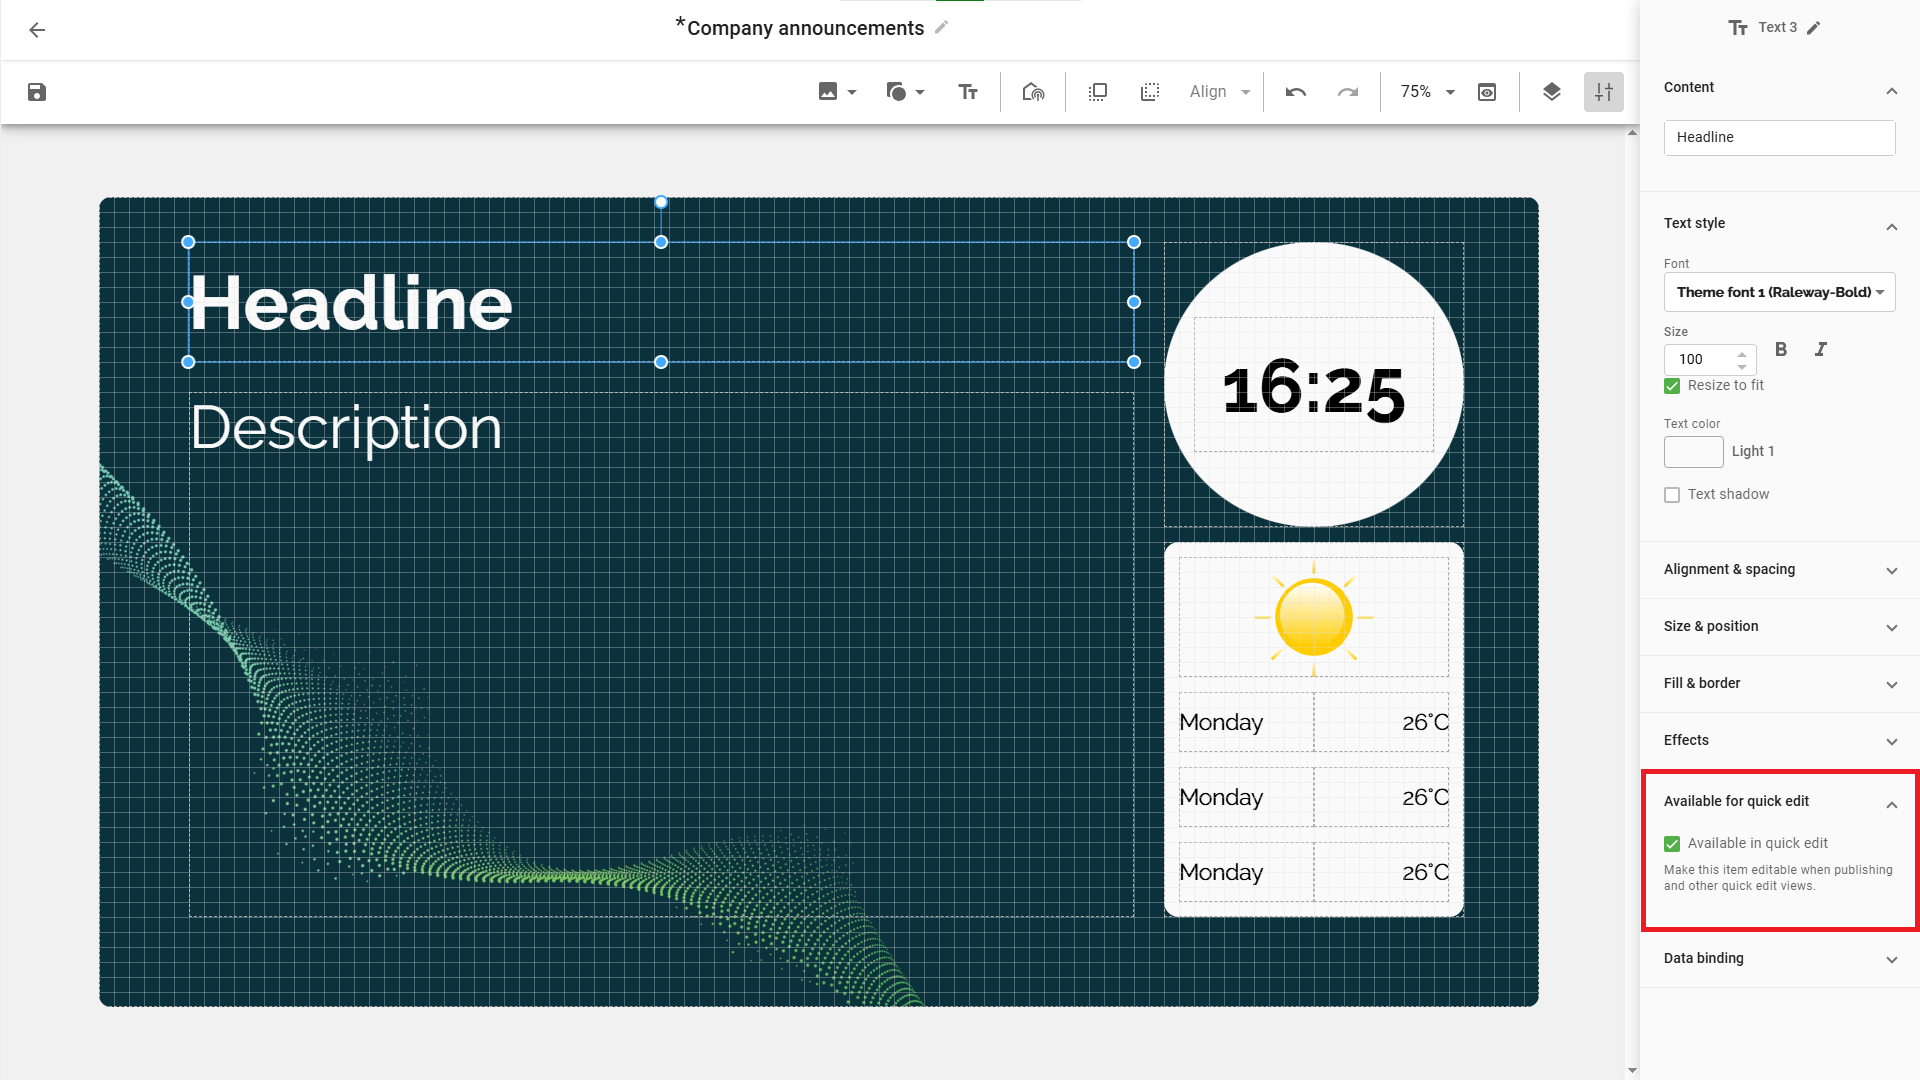
When users create a media with this template, they can only change headline and description.
Layout elements
You can add images, video, shapes and text elements to the template via the toolbar.
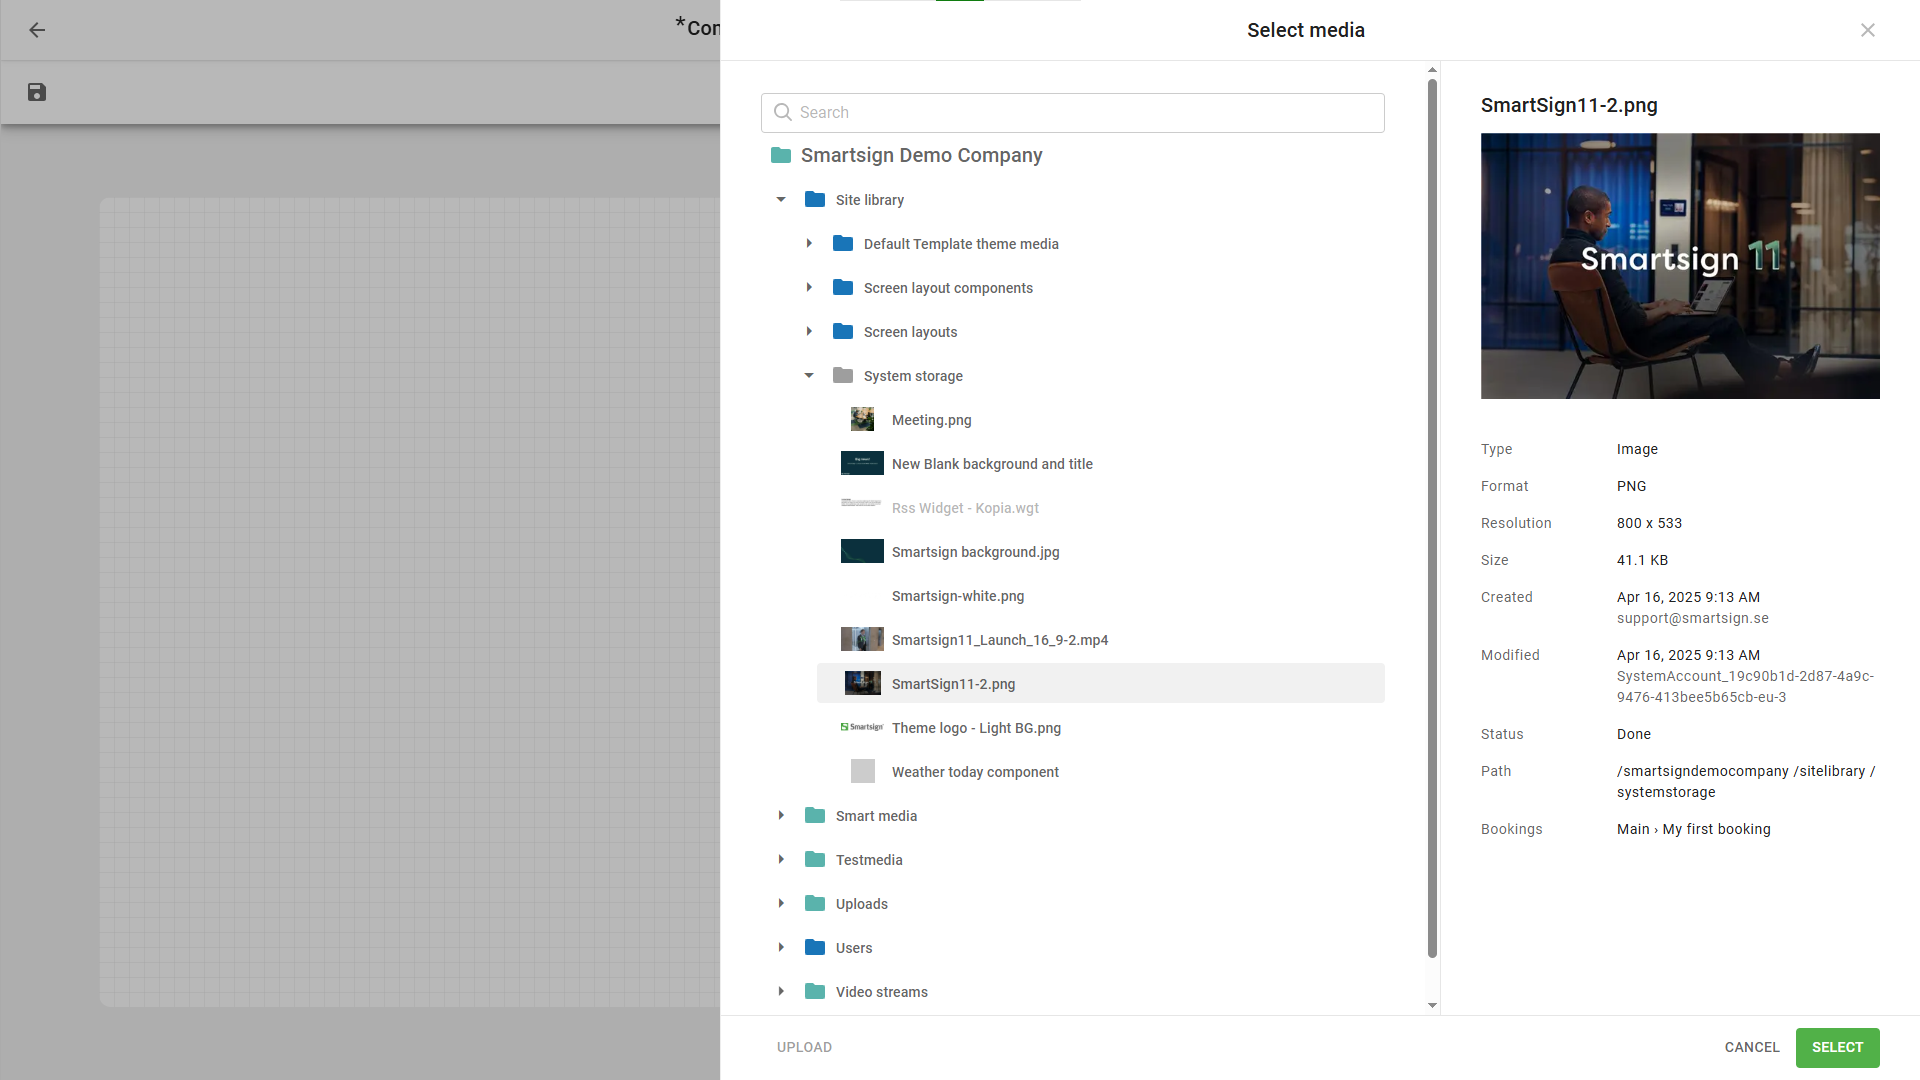
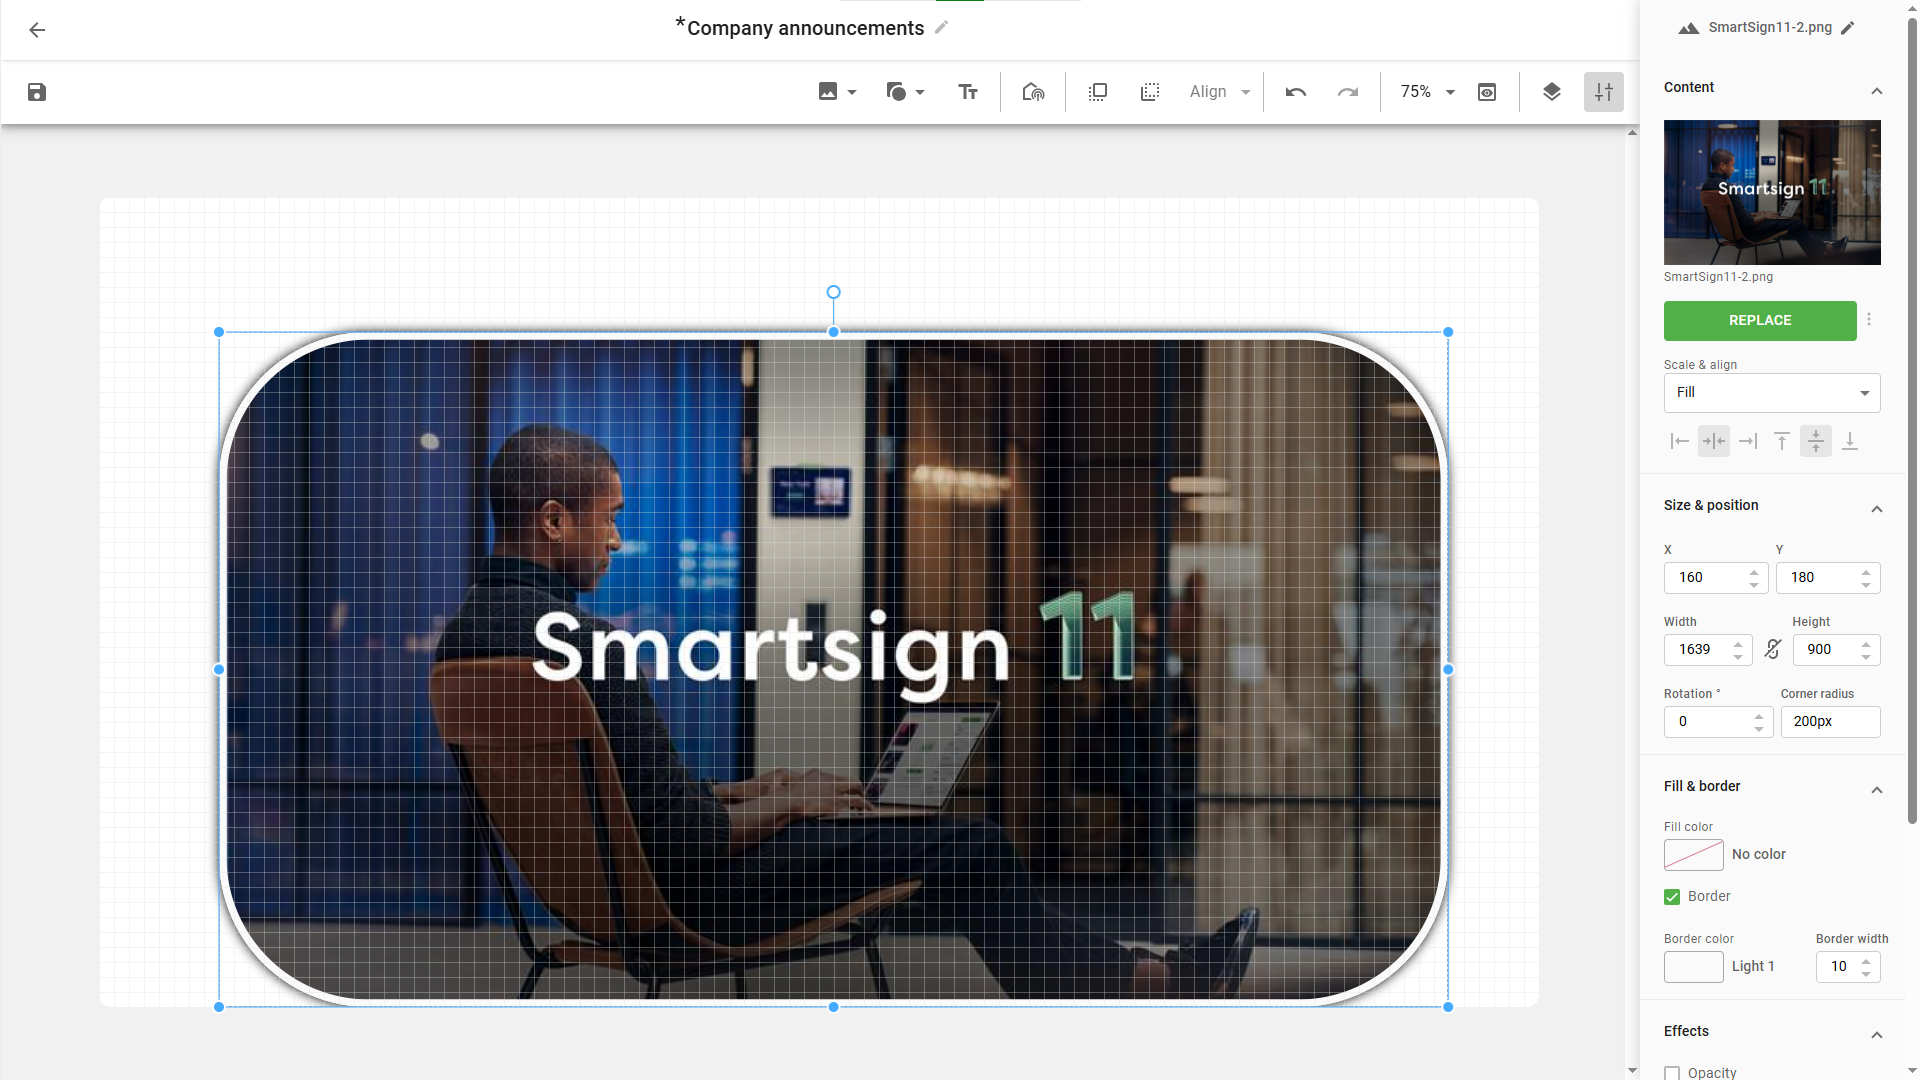
Images
To add images to the template, click the "add media" button.
You can select an existing, upload new in the media library or use
theme media.
Select the image in the template to tweak its settings,
such as position and content properties.
You can also add CSS effects to it like rounded corners or drop shadow.
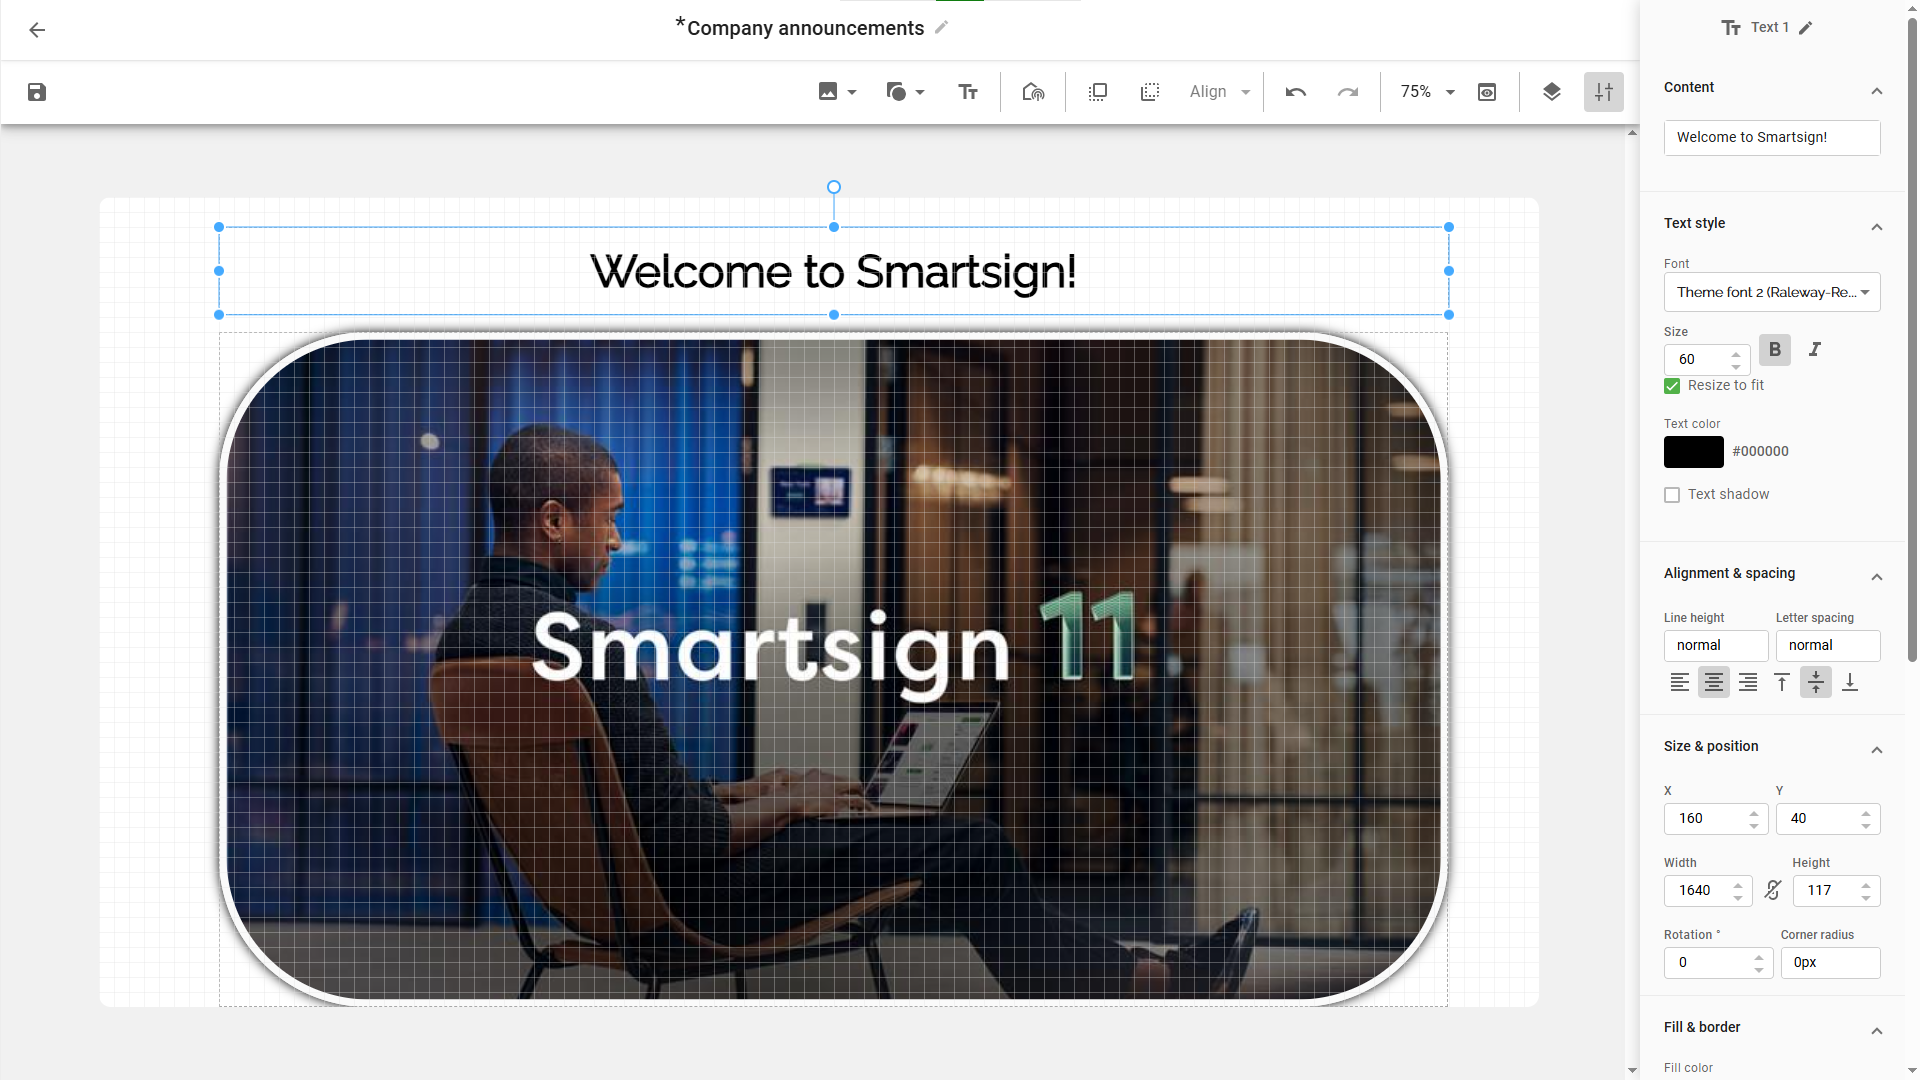
Text
To add text to the template, click the "T" icon and then drag to create
the text area then write the text your desired text message.
On right hand side, you make your formatting choices.
Double click on a textbox to edit text again,
or use content box on right hand side.
Video
To add a video to the template, click the add media button. You can either upload a new video or select an existing from the media library. Select the video in the template to tweak its settings, such as position and content properties. Only one video is allowed and the format must be .mp4. Please note that playback performance for template embedded video varies greatly between different screens/players.

Shapes
You can create filled square and round shapes in the same way as you create text boxes. Click the square or circle icon and then drag to create the desired shape. Then select the shape and select the Content tab on the right to adjust its settings.
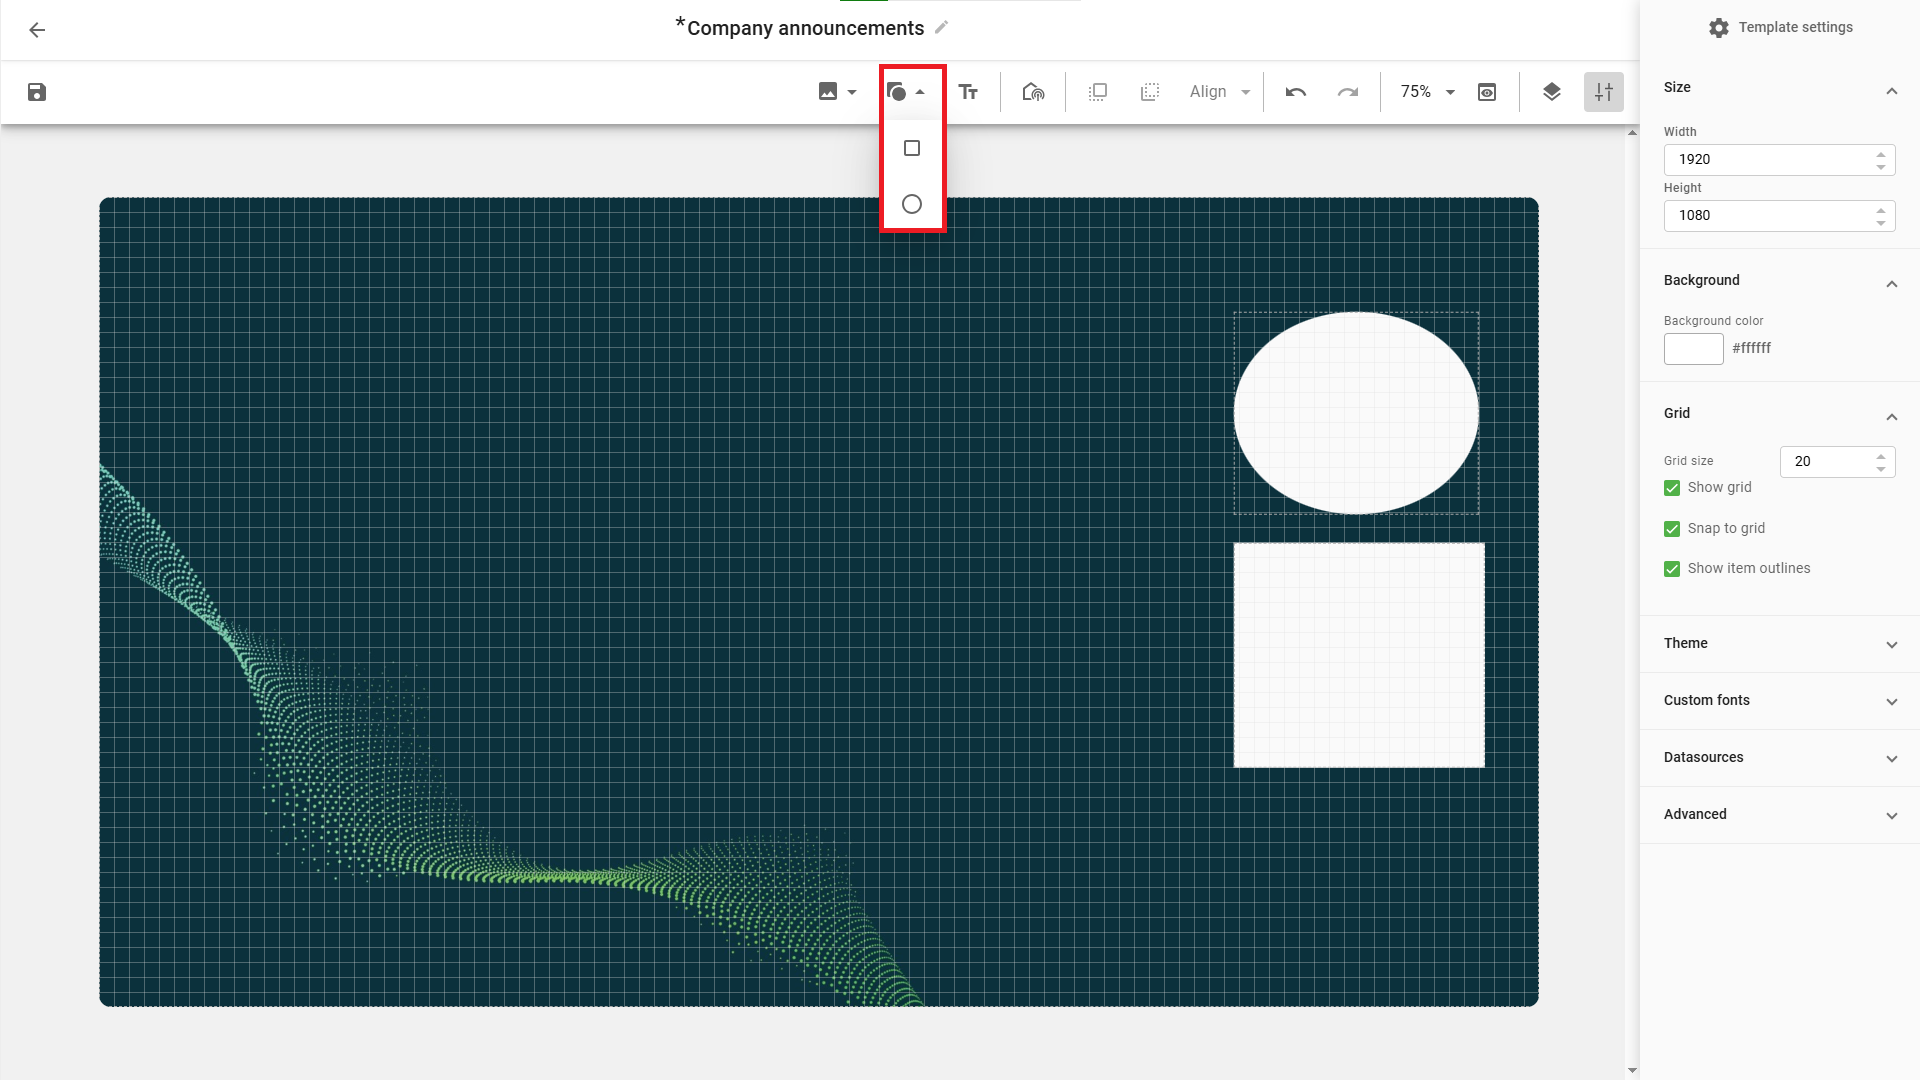
Shapes can be used as backgrounds for text or fetched data like
weather, QR codes or images from datasources
Effects
It's possible to apply effects to objects. To do so, select the object
and go to the Effects tab.
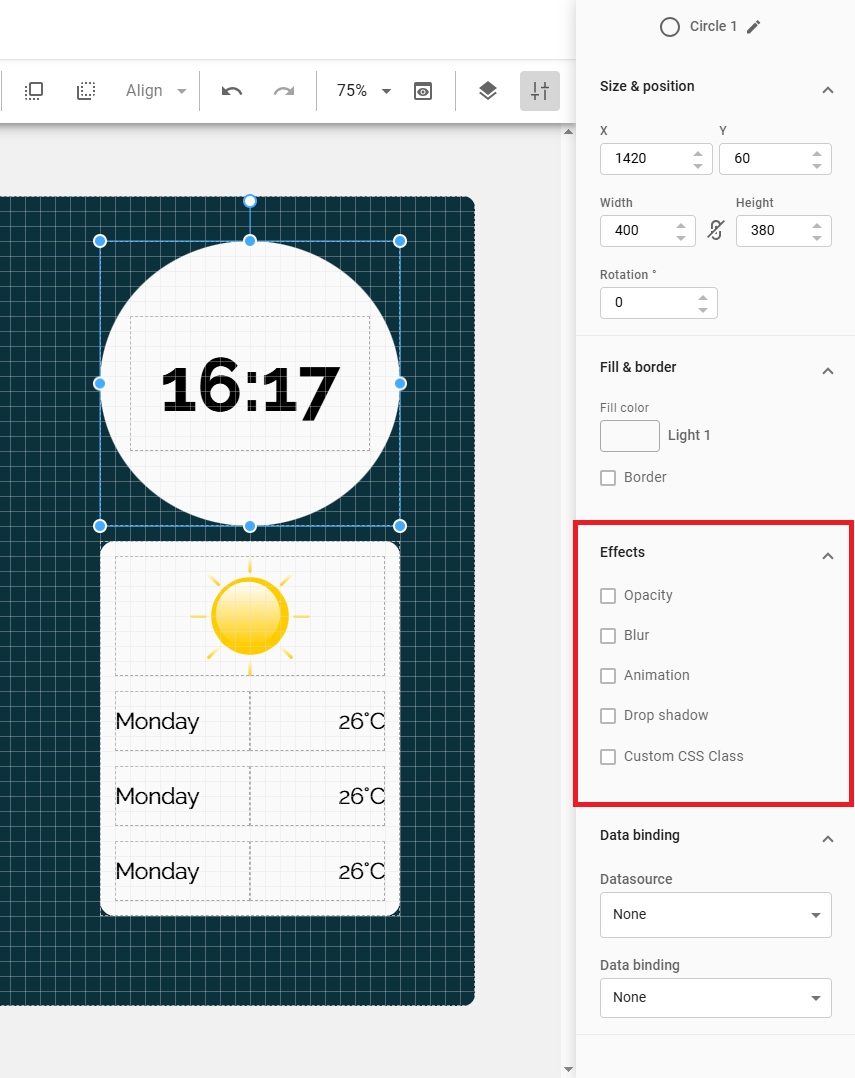
From here it's also possible to add an animation and control the speed of the animation.
Performance and results may vary since effects are rendered live on screen using the screen browser. For this reason it may not be possible to use some effects on some screens.